
Last updated November 16, 2026
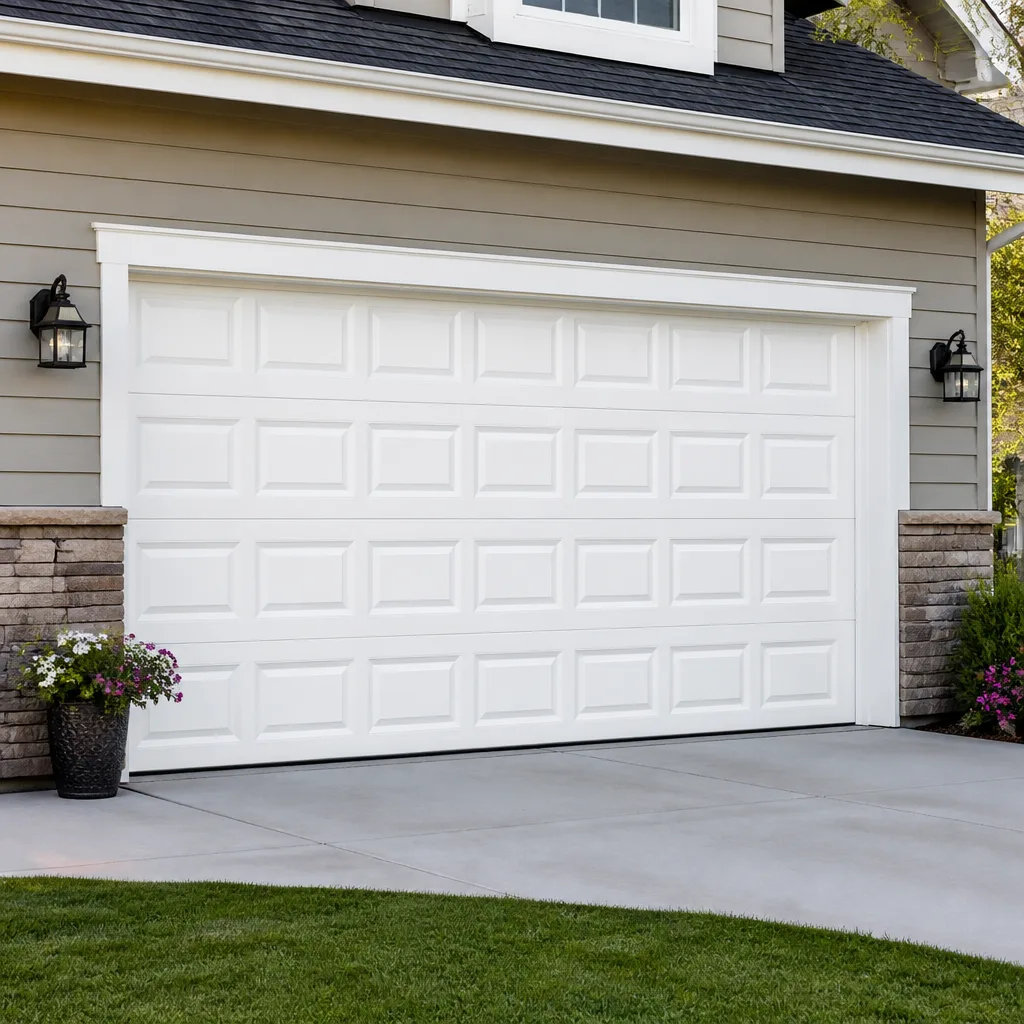 Raised-panel steel
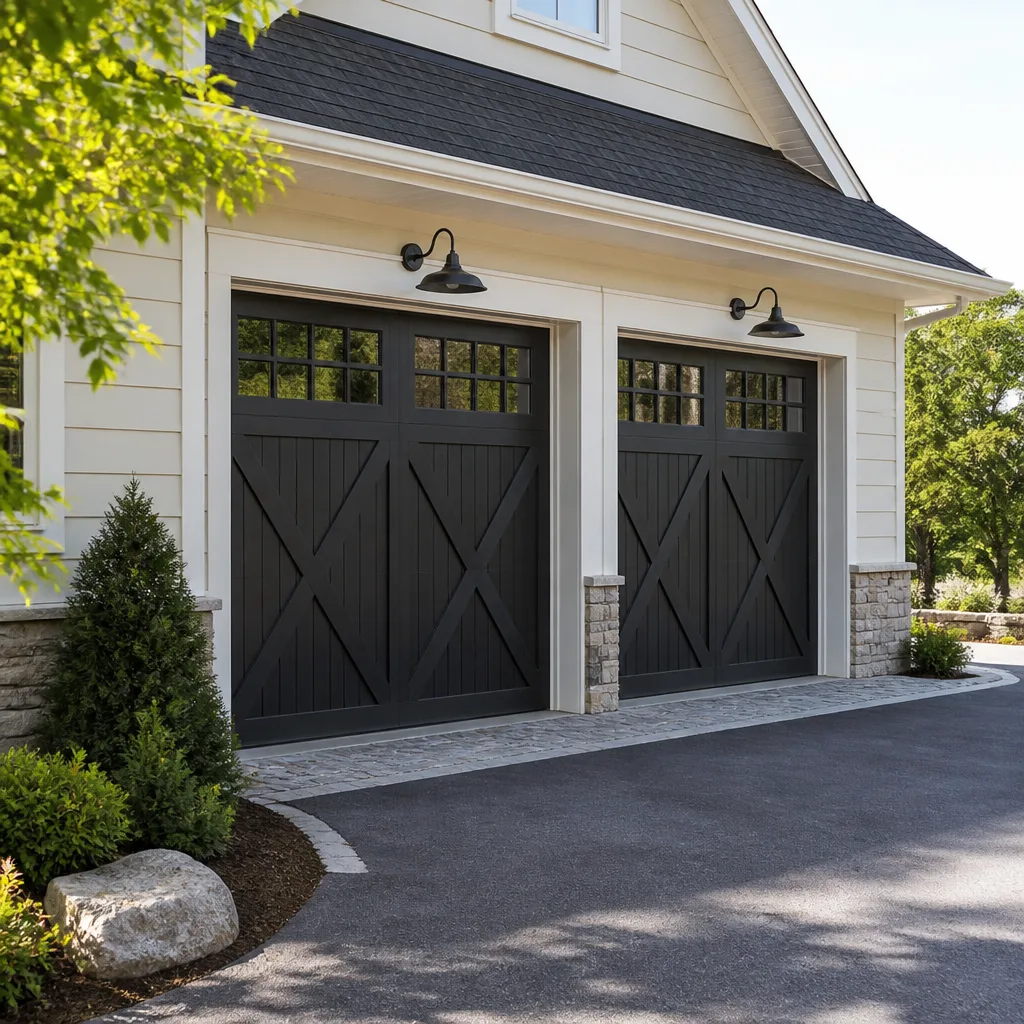 Carriage house
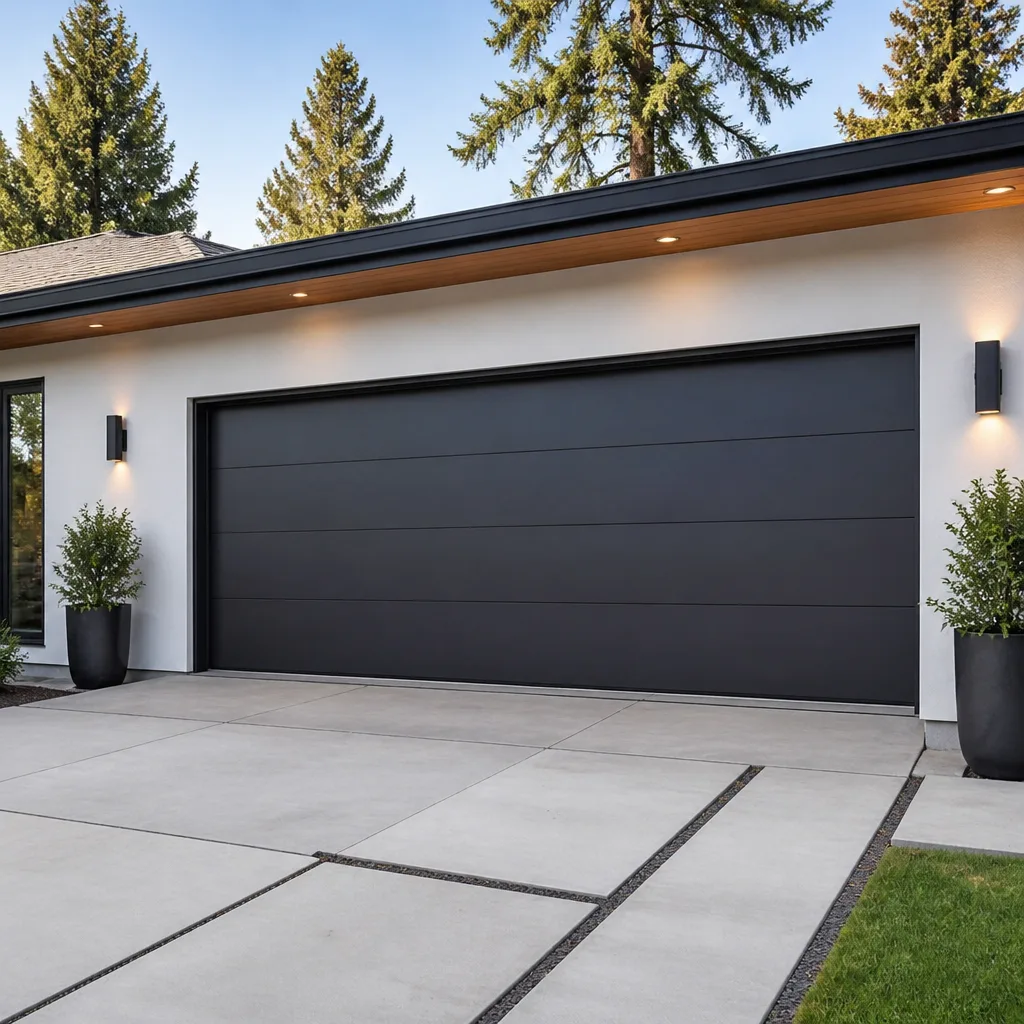 Modern flush
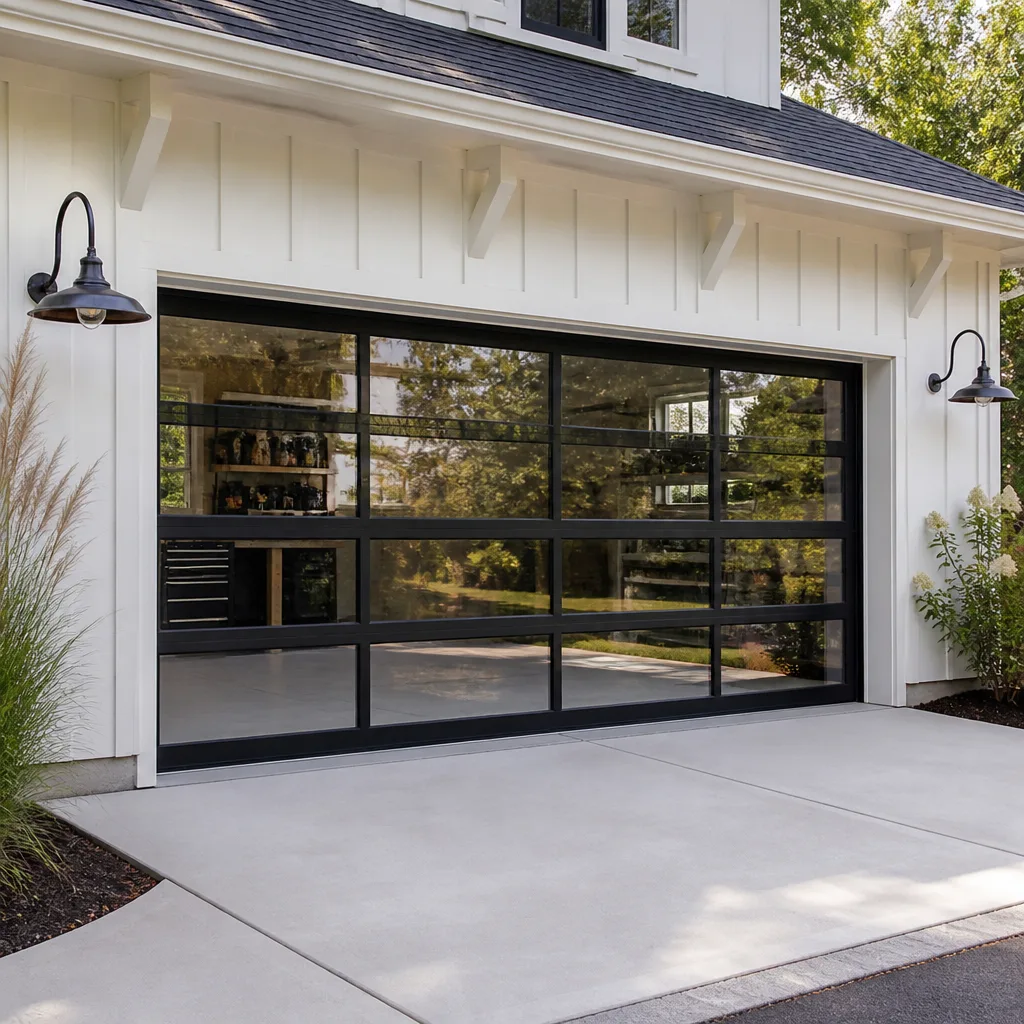 Full-view glass
 LiftMaster openers
 Chamberlain openers
Full 25-point door and opener safety check with every visit - springs, cables, rollers, tracks, and your LiftMaster or Chamberlain opener included
You get a price before we start. It does not change when the pro arrives.
Get your free estimateGarage Door Repair Maintenance Schedule: What to Do and When
Garage door manufacturers publish maintenance intervals for ideal conditions. Arlington doesn’t offer ideal conditions. Between July humidity that swells wood and works into every hinge pin, spring pollen that turns grease into grit, and January nights that drop well below freezing, your springs and rollers are wearing faster than the manual assumes. That’s why a generic “lubricate every six months” checklist leaves so many Arlington doors squealing, sticking, or failing years before their rated life. What follows is a schedule built around four real checkpoints, the right lubricant for each component, brand-specific opener intervals, and a ten-minute inspection you can run without tools. Use it to know exactly what to do, and when.
Quick Answer
A garage door needs a light visual check monthly, mechanical lubrication each spring and fall, a full hardware audit once a year, and an immediate inspection after any hard impact or power surge. In Arlington, the seasonal checkpoints matter most: fall prep protects springs and seals from freeze-thaw cycles, and spring prep clears winter grit before summer humidity sets in.
Styles & brands we work with
- Raised-panel steel
- Carriage house
- Modern flush
- Full-view glass
- LiftMaster openers
- Chamberlain openers
Table of Contents
- The Monthly Check (No Tools Required)
- The Seasonal Mechanical Service: Spring and Fall
- The Annual Full Hardware Audit
- The Event-Triggered Inspection
- Which Lubricant Goes Where (and What Never to Use)
- Opener-Specific Maintenance Intervals by Brand
- The Arlington Winter Checklist
- The 10-Minute Pass/Fail Inspection
The Monthly Check (No Tools Required)
The monthly checkpoint is a visual and auditory pass, not a mechanical one. You’re not tightening anything or adding lubricant. You’re watching and listening for changes from the last time you looked. Most garage door failures give weeks of warning before they stop the door entirely, and this monthly look is how you catch those warnings early. It takes about three minutes.
Walk the full width of the door from inside the garage with the door closed. Then run it up and down once and watch it from a few feet back.
- Sight lines: The door should travel evenly. If one side lags, the panels tilt, or the door shudders at any point in its travel, something is out of balance.
- Rollers: Look for flat spots, chips, or rollers that have stopped spinning inside their brackets.
- Hinges: Check for loose screws, bent leaves, or visible rust at the pivot points.
- Cables: Cables should run straight and even on both sides. Fraying, kinks, or slack on one side means stop using the door.
- Weather seal: Run your eyes along the bottom seal. Cracks, gaps, or a seal that no longer touches the floor will let in water and pests.
- Sound: A door that has started to grind, squeal, or pop during travel is telling you something specific. Note where in the cycle it happens.
In Arlington, add one thing to the monthly check in summer: look at the tracks after a stretch of humid weather. Condensation on cold metal tracks picks up dust and pollen, and that mixture becomes an abrasive paste that wears rollers faster than dry grit does. Wipe the vertical tracks with a dry cloth if you see buildup.
The Seasonal Mechanical Service: Spring and Fall
Twice a year, in spring and fall, the door needs actual mechanical attention: lubrication, a balance check, and a safety-reverse test. This is the checkpoint most homeowners skip, and it’s the one that pays off most in Arlington’s climate. Do the spring pass in April or May, before humidity climbs. Do the fall pass in October, before the first hard freeze.
- Lubricate moving parts. Apply the correct lubricant to springs, rollers, hinges, and the opener’s drive mechanism. The section below covers exactly which product goes where.
- Check balance. Disconnect the opener using the release cord, lift the door to about halfway, and let go. A balanced door holds its position. A door that drifts down or slams is out of balance and needs a professional to adjust the spring tension.
- Test the safety reverse. With the door connected again, place a roll of paper towels or a piece of wood flat on the floor in the door’s path. Run the door down. It should reverse on contact. If it presses down and stops, that’s a fail, and it needs adjustment before anyone uses the door.
- Check the photo-eye alignment. The two sensors near the floor on either side of the door should have steady indicator lights. A blinking light means the beam is blocked or misaligned.
- Inspect the bottom seal and side seals. Run a hand along the bottom seal for cracks or missing chunks. In Arlington, spring is the right time to replace a seal that’s showing wear, before summer storms and fall rain work it harder.
- Tighten visible hardware. Run a screwdriver over the hinge screws and the bracket bolts at the track ends. Snug, not cranked. Over-tightening can strip the bracket into the door panel.
Safety note: Springs, cables, and the torsion assembly are under extreme tension and cause serious injury when handled by untrained hands. Balancing, tension adjustment, and spring work belong to a trained technician. The seasonal service above is what you can safely do. If the balance check fails or a cable looks wrong, stop and call a professional.
The Annual Full Hardware Audit
Once a year, the door deserves a more thorough look than the seasonal pass allows. This is the checkpoint for the parts that wear slowly and quietly: the opener’s internal components, the track alignment, and the hardware you don’t touch day to day. Pick a set month each year and stick to it.
The annual audit covers:
- Full track inspection. Check both vertical and horizontal tracks for dents, bends, and buildup. A slightly bent horizontal track is a common cause of a door that jerks near the top of its travel.
- All hinged and load-bearing hardware. Inspect every hinge, bracket, and bearing plate. Look for cracks, elongation of screw holes, and rust at the pivot.
- Panel condition. Check every panel for dents, separation at the seams, and warping. In Arlington’s humid summers, wood-composite and certain steel panels can show warping along the seams that’s easy to miss in a quick walk-around.
- Opener drive system. Inspect the belt, chain, or screw drive for wear, slack, or fraying. Belt-drive units will show cracks in the belt before they fail.
- Force and travel settings. Have the opener’s force and limit settings reviewed. These drift over time and are the most common cause of a door that stops halfway.
- Springs. A visual inspection for rust, gaps, and coil separation. A rusted spring is a weakened spring. It doesn’t need replacement the moment you spot rust, but it should go on your radar.
If your annual inspection turns up something that needs a hands-on repair, that’s a normal outcome, not a reason to worry. Our garage door repair service handles everything from a single hinge replacement to a full spring and cable rebuild, and the written estimate is set before any work begins.
The Event-Triggered Inspection
Some maintenance isn’t scheduled. It’s triggered. Certain events are known to cause hidden damage, and a door that “looks fine” after one still needs a look before it’s trusted again. The four triggers that matter most:
- A hard impact. A car bumper against the door, a bike against a panel, or anything solid dropped on the track is a trigger. Even when the door still runs, a dented panel can throw the door out of balance, and a bent track will wear the rollers on one side. Inspect the track, the panel edges, and the rollers within the first day.
- A power surge or lightning strike nearby. Surges damage opener control boards and logic boards. If your opener stops responding, loses its travel settings, or behaves erratically after a storm, the trigger is a surge. Unplug the opener and call for a diagnostic rather than cycling the door repeatedly.
- A long outage or a blown fuse or breaker. Any time the opener loses power for more than a short while, check the safety reverse and photo-eye alignment before normal use. Some openers also lose their travel settings after an outage.
- A near-miss. If the door ever closes on something and doesn’t reverse, or a child or pet has been in the path during operation, that’s a trigger. Test the safety reverse immediately and treat a fail as an urgent repair.
On any of these, if the door is stuck open or stuck shut, or if the opener is dead, our garage door opener repair team can take a look. Spring, cable, or track damage is ours to fix under the same standard: diagnose it accurately, quote it in writing, and do the repair, not a replacement, if a repair is the right call.
Which Lubricant Goes Where (and What Never to Use)
Lubricant choice is where most maintenance mistakes happen. Using the wrong product on a garage door can do more harm than no lubricant at all. The most common error we see: WD-40 sprayed on the torsion springs. WD-40 is a solvent-based penetrant, not a lasting lubricant. It thins out and evaporates, leaving the spring surface dry again in a matter of weeks. Worse, it can carry grit into the coils. The result is a squeaky spring within a month, and a homeowner who thinks they’ve “just been unlucky” about their springs.
Here’s the correct product for each component:
- Springs (torsion and extension): A dedicated garage door spring lubricant or a spray silicone or white lithium grease formulated for metal-to-metal contact. Apply a light coat along the coils. Don’t soak them.
- Rollers: Silicone lubricant or a light oil, applied to the roller stem, not the roller face. The roller itself should stay clean and rolling on the track, not slip on it. Oiling the roller face causes the roller to slide instead of roll, which flattens it faster.
- Hinges: A light, penetrating lubricant or white lithium spray at the pivot points. Work the hinge open and closed after applying to spread it.
- Tracks: No lubricant. Tracks should be clean and dry, wiped down with a dry cloth. Lubricant on the track attracts dust and pollen, and that mix becomes abrasive. If you see buildup, clean it, don’t grease it.
- Opener drive: Chain-drive and screw-drive openers use a chain or screw-specific lubricant, typically a low-sling grease. Belt-drive openers need no lubrication on the belt itself. Look at the opener’s manual for the write spec, because a wrong grease on a chain drive can fling off onto the door.
- Weather seal: A silicone spray or a dedicated rubber seal protectant to keep the seal pliable through Arlington’s dry winter air and humid summers. Never use petroleum-based products on rubber seals.
What to skip entirely: WD-40 on any of it, cooking spray or vegetable oil (they attract insects and go rancid), and generic “3-in-1” or multi-purpose oil on springs. If you’re not sure which product a component takes, leave it and let a technician handle that checkpoint. We work on Kingsley Garage Door Repair standard, which is: right part, right product, the first visit.
Opener-Specific Maintenance Intervals by Brand
Openers don’t all wear the same way. The drive system, the control board, and the wear points differ by brand, and treating them all as “a box that pulls the door” misses real maintenance intervals. Here’s what to watch for on the three brands we see most in Arlington homes.
LiftMaster and Chamberlain (same family of openers)
LiftMaster and Chamberlain units share engineering lineage, so the maintenance intervals are close. Belt-drive models on these brands are known for running quietly until they’re not, and the belt is the wear point. Inspect for cracking or fraying at the annual audit and consider replacement at the first sign of either. The capacitor is the second wear point: if the door opens fine but struggles to close, or the opener hums without moving the door, a weak capacitor is the most common cause. That’s a diagnostic call, not a DIY checkpoint. These openers also carry their own force and travel settings, which should be reviewed each year.
Craftsman
Craftsman openers are common on Arlington doors installed in the last two decades, and their chain-drive units wear differently than belt drives. Chain-drive units on Craftsman openers show slack in the chain and elongation in the chain links over time. Check the chain tension at each spring and fall service; a loose chain slaps and accelerates wear on the sprockets. Craftsman openers also have control boards that sit exposed to garage humidity, so inspect the housing for moisture or insect nests at the annual audit.
Genie
Genie openers show up across a wide age range, and the maintenance varies by generation. On screw-drive Genie units, the screw needs a specific grease (the manual will specify which) and should be checked at every spring service. On older chain-drive Genie models, the force settings are the common failure point, and they should be reviewed once a year. The safety-reverse sensor alignment is a Genie-specific wear point on some models; check it every seasonal service.
For any opener brand, the same rule applies: if you’re not sure whether the wear you’re hearing is normal, stop cycling the door and get it diagnosed. A click or a hum that isn’t followed by movement is the opener telling you it’s about to fail, not a sound to live with. For Arlington homes with a Raynor door and a paired opener, or any other mix of brands, our technicians work on what you actually have.
The Arlington Winter Checklist
Arlington winters are hard on the parts of your door you can’t see. The freeze-thaw cycle is the specific problem: water gets into a seam, a gap, or a seal, then freezes overnight and expands. Do that a few times and a small crack becomes a split. On the door itself, cold is hardest on the torsion springs. Steel gets brittle in sustained sub-freezing temperatures, and a spring that’s already showing age-related wear at 40 degrees is at real risk of snapping at 15 degrees. That’s why the fall pass matters more than any other in Arlington.
Do these before the first hard freeze:
- Replace the bottom seal if it’s showing cracks or gaps. An intact bottom seal keeps water from the floor from wicking up into the door and freezing. If you can see daylight under the closed door, or if the seal has lost its pliability, replace it now rather than in January.
- Inspect the side seals and top seal. Same logic. Any gap that lets water in during a freezing rain becomes an ice wedge by morning.
- Lubricate springs and hinges with a cold-tolerant product. Some light oils thicken in cold and slow the door’s travel. A silicone or lithium grease rated for cold use keeps the door moving smoothly through a January morning.
- Check the balance before the cold hits. A door that’s slightly out of balance in October is a door that may not open at all in February. Have the balance reviewed, and have the spring tension adjusted if it fails.
- Clear the tracks of summer grit. Pollen, dust, and dried grass clippings accumulate in the tracks over the summer. Clean them before winter, so ice and grit don’t wear the rollers through the cold season.
If the door is already stiff, squeaky, or hard to lift by hand, the fall service is urgent, not routine. In a cold snap, a stiff door puts maximum strain on the springs. If your springs have already given up, or you hear a loud bang from the garage, stop using the door and call for a technician. Springs are under extreme tension, and a snapped spring can leave a cable under load. That’s not a job to handle yourself.
The 10-Minute Pass/Fail Inspection
Here’s the short version for a homeowner who wants to know whether the door needs a service call this week. Run this once a month. It needs no tools and no ladder. Each item is either a pass (the door is fine) or a fail (time to call a professional).
- Visual travel. Run the door up and down. It travels evenly, no shudder, no tilt. Fail if it does either.
- Rollers spin and look round. Check a few rollers along each side. Fail if any roller is flat, cracked, or stuck.
- Hinges and brackets. Visually check each hinge and bracket. Fail if any is bent, cracked, or rusted through.
- Cables. Both cables run straight and even. Fail if either is frayed, kinked, or slack on one side.
- Balance test. Disconnect the opener, lift the door halfway, let go. It holds. Fail if it drifts or slams. (Do not attempt to adjust spring tension yourself.)
- Safety reverse. Place a roll of paper towels in the door’s path, close the door, it reverses on contact. Fail if it presses into the material and stops.
- Photo-eye alignment. Both sensors have steady lights. Fail if either is blinking or dark.
- Bottom seal. The seal touches the floor with no daylight showing and no cracks. Fail if it doesn’t.
- Sound test. The door runs at its usual volume and tone. Fail if it has developed a grind, squeal, or pop.
- Opener response. The opener responds promptly to the remote and the wall switch, with no lag or hum without movement. Fail if it struggles or doesn’t respond.
Any single fail is a service call. Two or more fails is a call today. If you’re in Arlington and want a professional look, Arlington homeowners can reach our team directly, and the estimate is free.
Common Mistakes to Avoid
- Spraying WD-40 on the springs. It feels like it worked for the first week. Then the spring is dry again and the WD-40 has carried grit into the coils. Use a dedicated spring lubricant or silicone instead.
- Greasing the tracks. The tracks should stay clean and dry. Lubricant on the track attracts the summer pollen and dust that wear rollers faster than dry metal does, and it makes the problem worse, not better.
- Waiting for the annual audit when the seasonal one is due. In Arlington, the spring and fall checkpoints catch problems the yearly audit is too late for. A bottom seal that’s fine in April can be split by the first November rain.
- Adjusting spring tension as a DIY fix. Springs are under extreme tension, and turning the adjustment without the right training is the single most dangerous thing a homeowner can attempt on a garage door. Even the balance check is a check, not an adjustment.
- Skipping the balance test because the door “still opens.” A door can open for months while out of balance, and the whole time the opener is carrying the door’s weight and wearing down. Balance problems are the most common cause of premature opener failure.
- Ignoring the opener’s force settings. These drift over time. A door that stops halfway or reverses randomly is almost always a force setting, not a broken spring. Get it reviewed at the annual audit instead of waiting for it to fail.
- Replacing the door when a repair will do. A single bent panel, a worn roller set, or a bad spring is a repair, not a replacement. Even a track that’s been hit is often repairable. Ask for an honest assessment before you commit to a new door.
See the difference
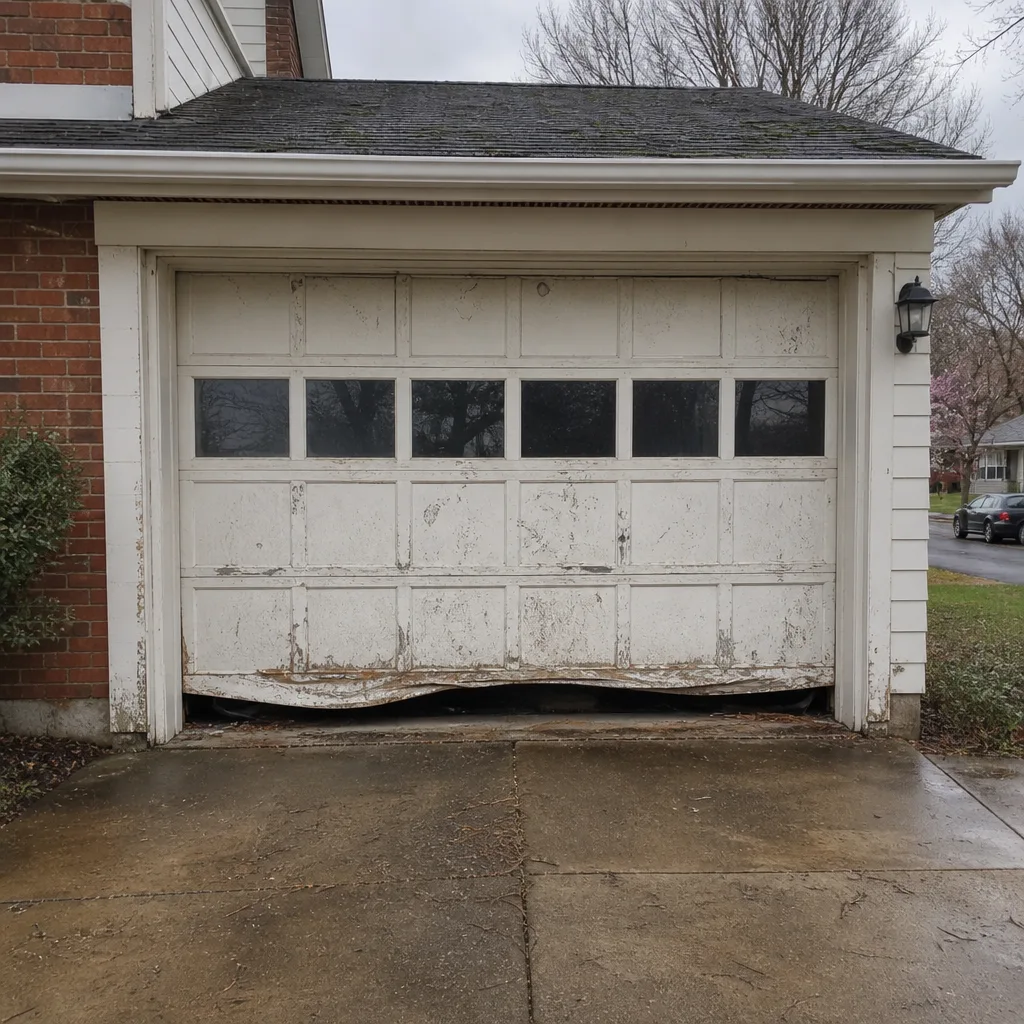 Before
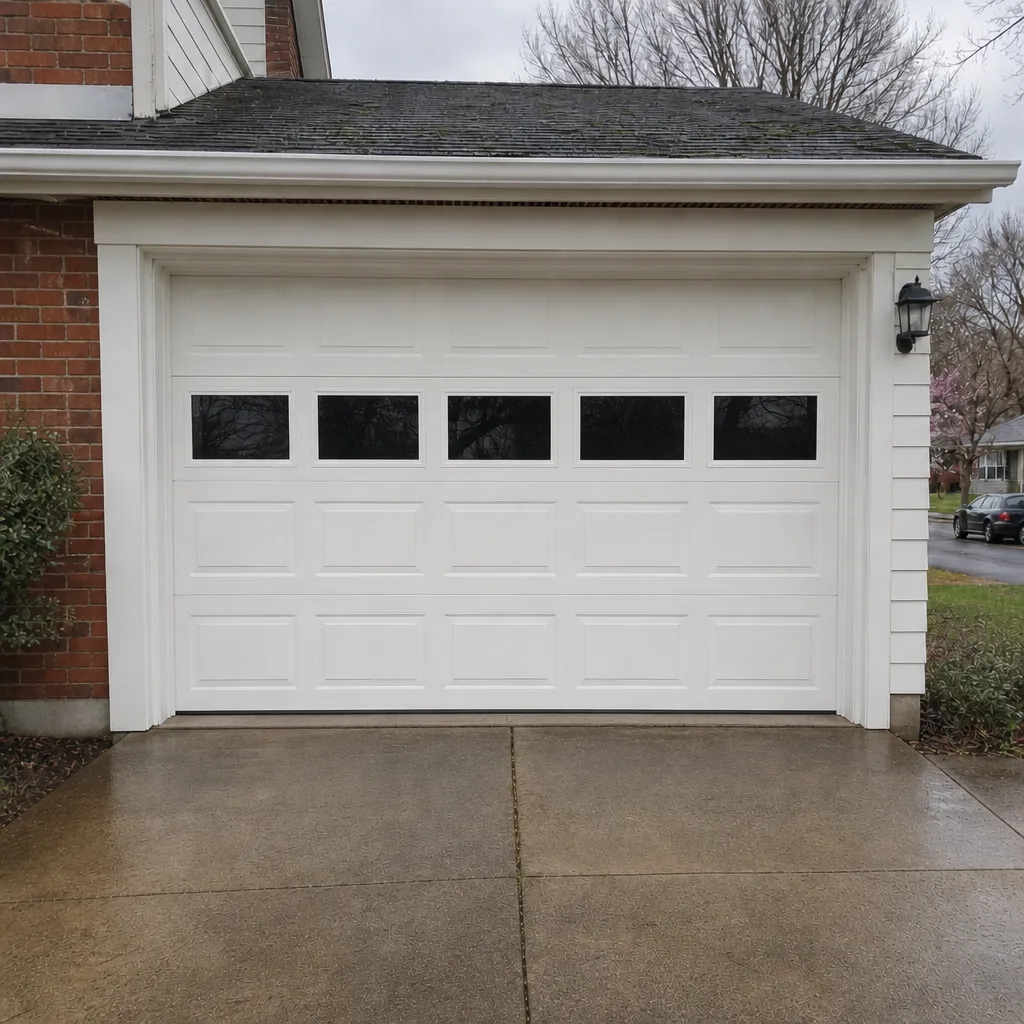 After
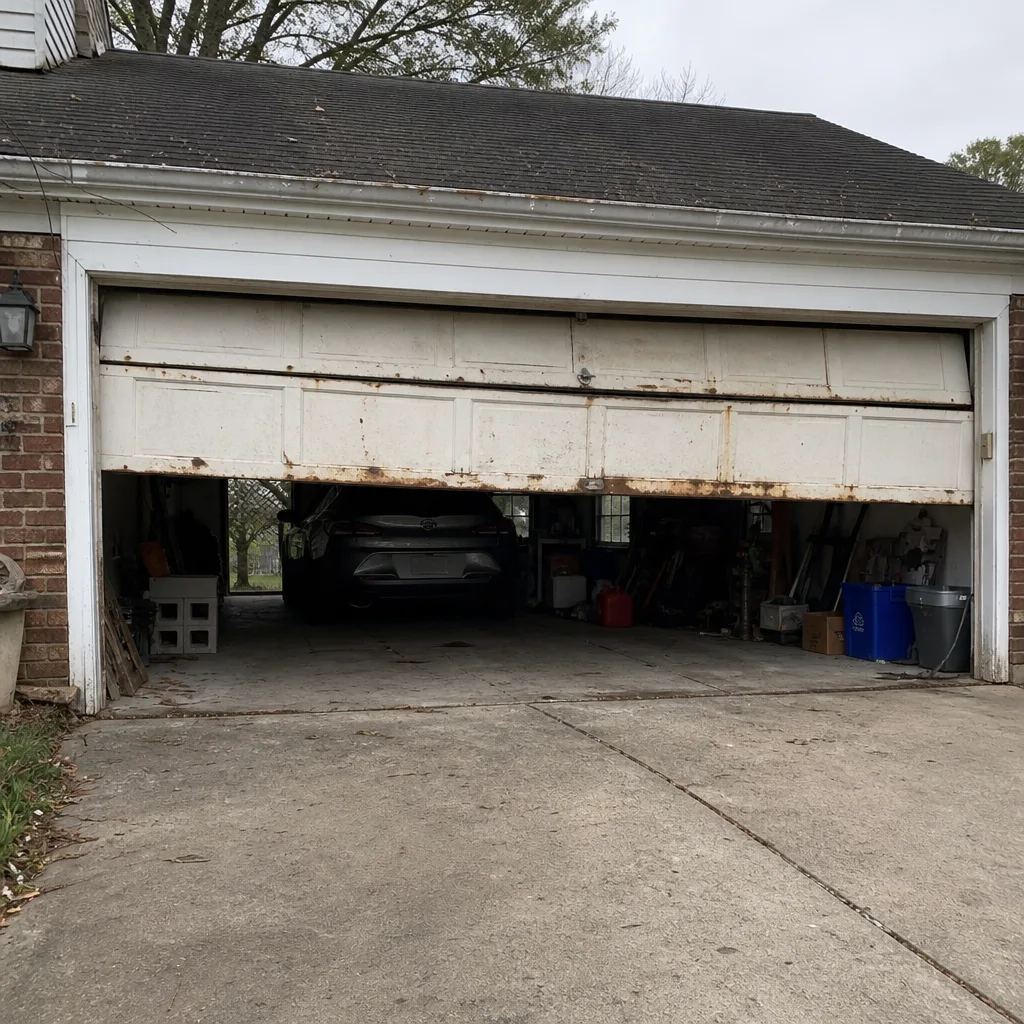 Before
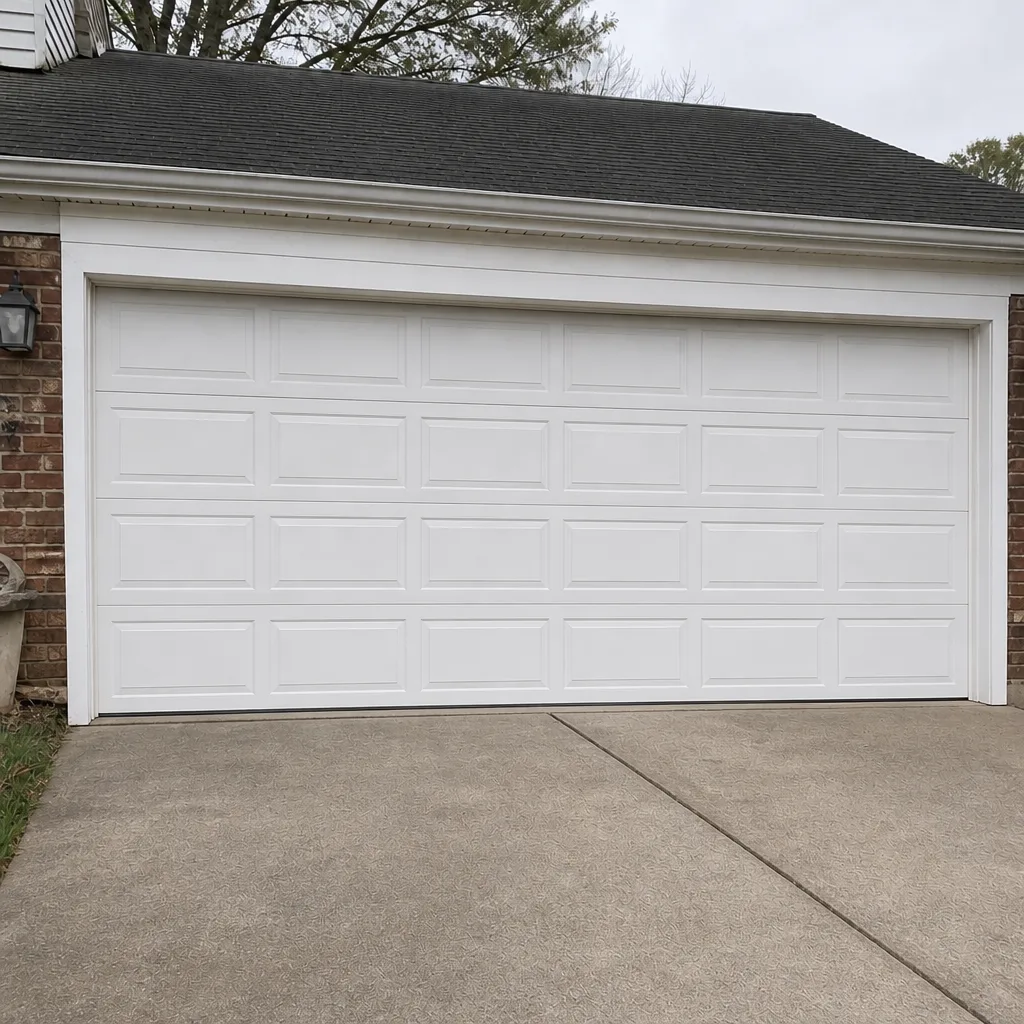 After
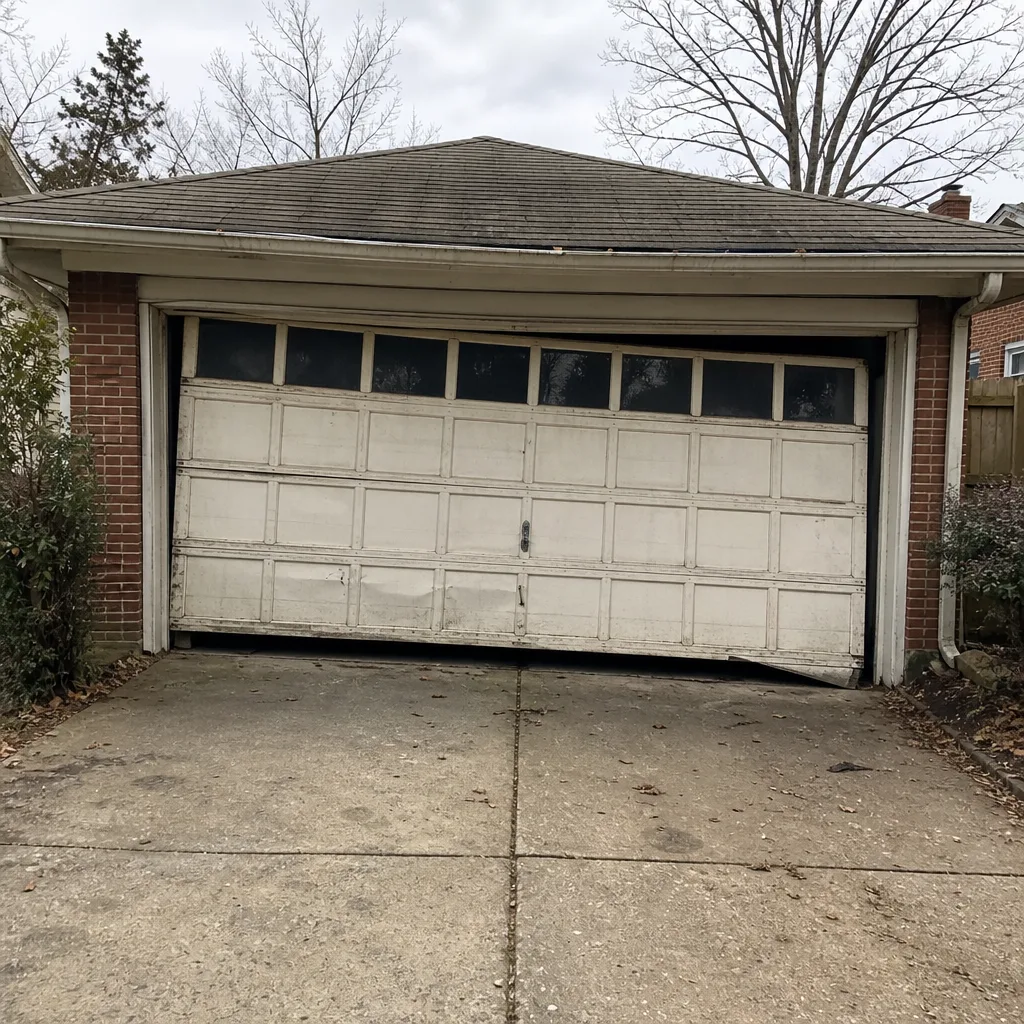 Before
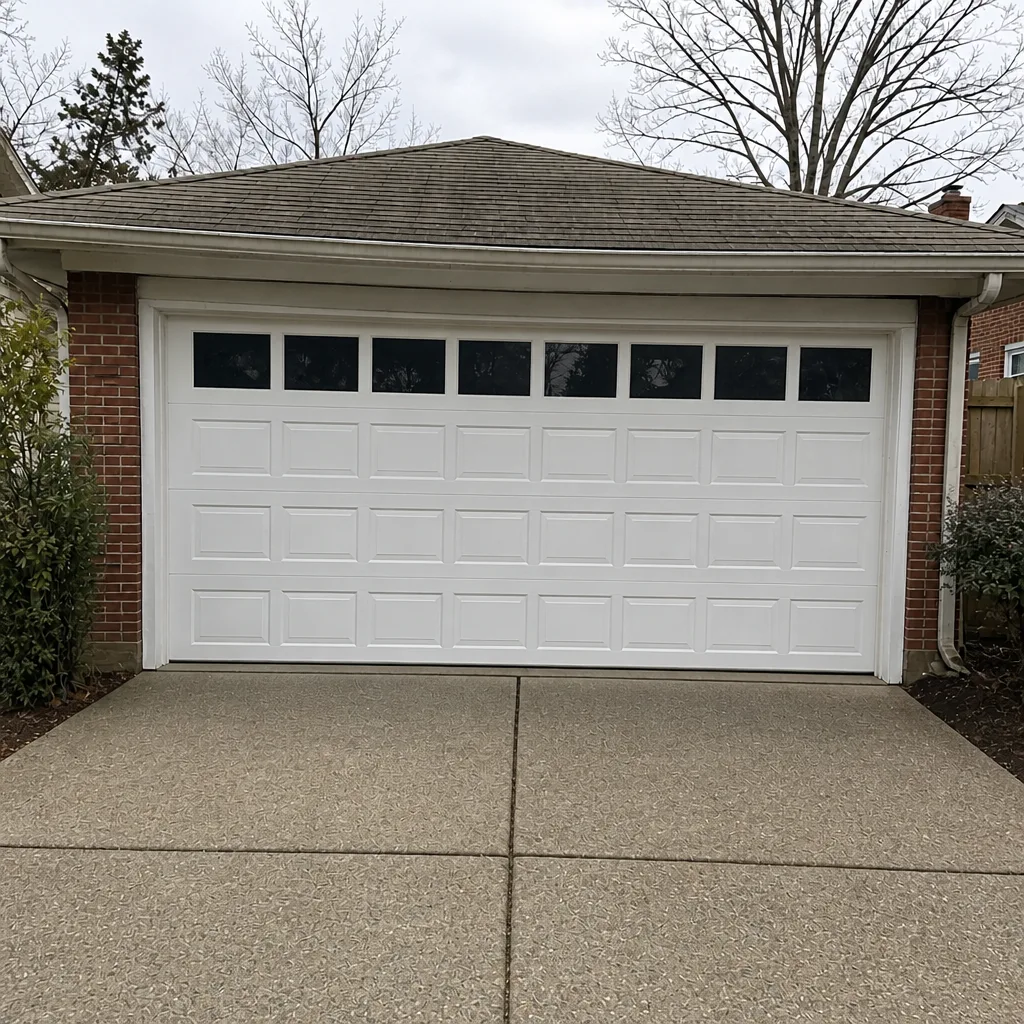 After
When to Call a Professional
Some jobs are checkpoints you run yourself. Others are service calls, and mistaking the second for the first is how a small problem becomes a door stuck open at the wrong moment, or worse, a spring under tension that no one should be touching. Call a professional for: any snapped, stretched, or visibly rusted-through spring; any frayed or kinked cable; any door that fails the balance test; any door that fails the safety reverse test; any track that’s been bent or hit; any opener that hums without moving the door, stops partway, or loses its travel settings; and any time the door makes a loud bang that seems to come from the spring area. As a general rule, if a “small fix” involves the springs, the cables, or the opener’s force settings, it’s a service call, not a maintenance task.
Kingsley Garage Door Repair offers free estimates in Arlington. Our technicians have up to 11 years of experience and work exclusively on garage doors, on the brands in your garage. Call (844) 484-2584. We answer 24/7. Fast dispatch from 7am to 7pm, Sunday through Friday.
Frequently Asked Questions
A garage door should get a monthly visual check, a mechanical service each spring and fall, and a full hardware audit once a year. In Arlington, the spring and fall checkpoints are the most important because the local climate swings from humid summers to sub-freezing winters, which is hard on springs and seals. The annual audit catches opener and hardware wear that the seasonal service doesn’t reach.
The most common mistake is spraying WD-40 on the springs. It’s a solvent-based penetrant, not a lasting lubricant. It dries out and leaves the spring surface dry within weeks, and it attracts grit into the coils. Use a dedicated spring lubricant or silicone spray on springs and hinges, and skip lubricant on the tracks entirely. Call (844) 484-2584 and we’ll tell you what your door’s components need.
Yes. Arlington’s combination of summer humidity, spring pollen, and sub-freezing January nights accelerates wear on springs, rollers, and seals beyond what a generic manufacturer’s maintenance table assumes. Cold winters make springs more brittle, and the freeze-thaw cycle works on the bottom and side seals. Treat the spring and fall checkpoints as mandatory and the annual audit as the backstop.
You can safely do most of it: inspecting rollers, hinges, and seals, running the balance test, checking the safety reverse, and applying lubricant to the exposed moving parts. You should not adjust spring tension, touch a cable, or work on the torsion assembly. Those components are under extreme tension and cause serious injury. If the balance test fails or a cable looks wrong, stop and call a professional.
Repair is usually the right call for a single failed component: a weak capacitor, a worn belt, a control board, or a stripped gear. Replacement makes more sense when the opener is showing failure in multiple systems at once, when the drive system is worn enough that replacement parts aren’t practical, or when a safety issue can’t be reliably fixed. We diagnose the opener first and recommend repair if repair is honest. Call (844) 484-2584 for a free estimate and an honest assessment.
Watch for rust on the coils, gaps between coils when the door is closed, a door that’s suddenly harder to lift by hand, and a balance test that fails. In Arlington, a spring that’s stiff in October is at higher risk through the cold months. If you see rust or hear a faint creak from the spring area, get it inspected before winter. A snapped spring is a service call, not a maintenance task.
The Bottom Line
A good maintenance schedule isn’t a single annual checklist. It’s four checkpoints: a monthly visual pass, a spring and fall mechanical service, an annual hardware audit, and an immediate inspection after any impact, surge, or near-miss. Match those checkpoints to the right lubricant for each component, know your opener brand’s wear points, and prepare for winter before the first freeze. Most garage door failures give weeks of warning. If you spot a fail, or you want a professional look at the door before the seasons turn, call (844) 484-2584. We answer 24/7. Fast dispatch from 7am to 7pm, Sunday through Friday. Free estimates, upfront pricing, and the written estimate before any work begins.
Written by the team at Kingsley Garage Door Repair.