
Last updated November 16, 2026
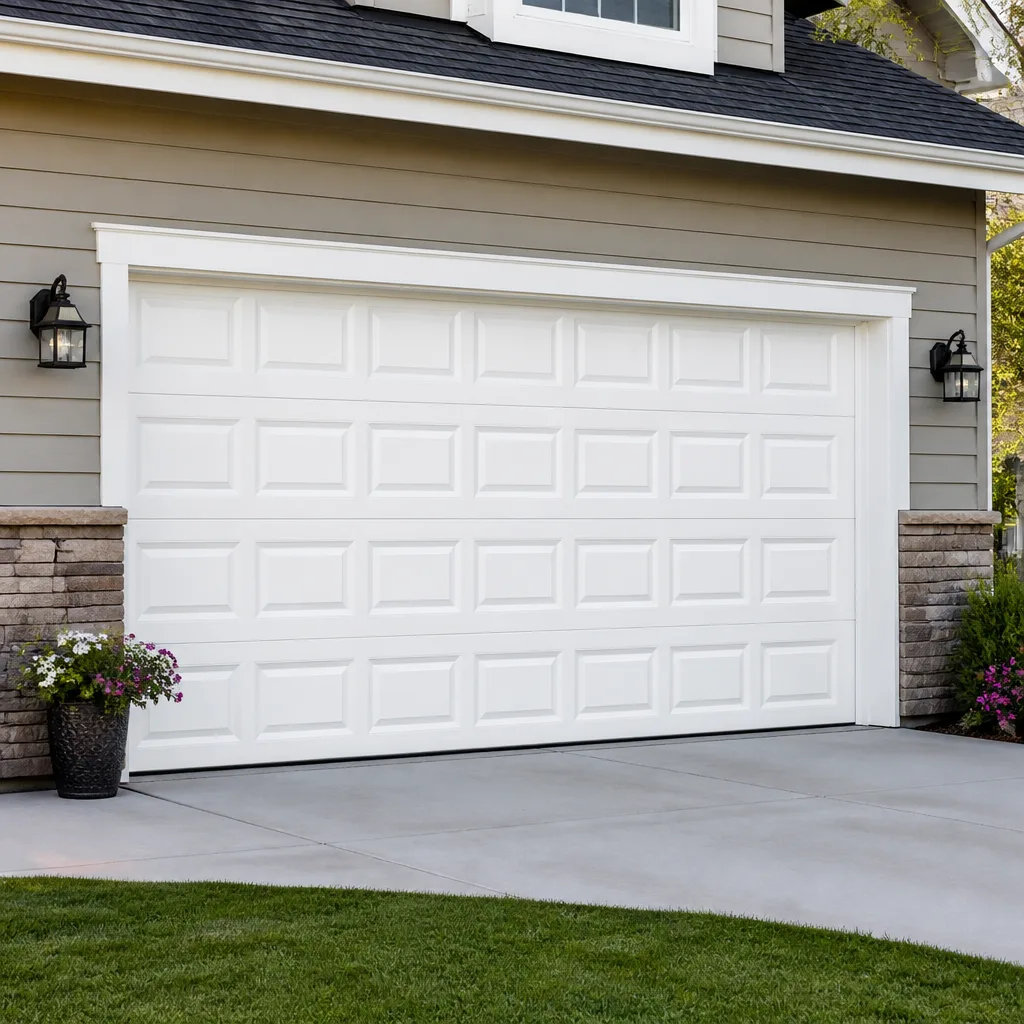 Raised-panel steel
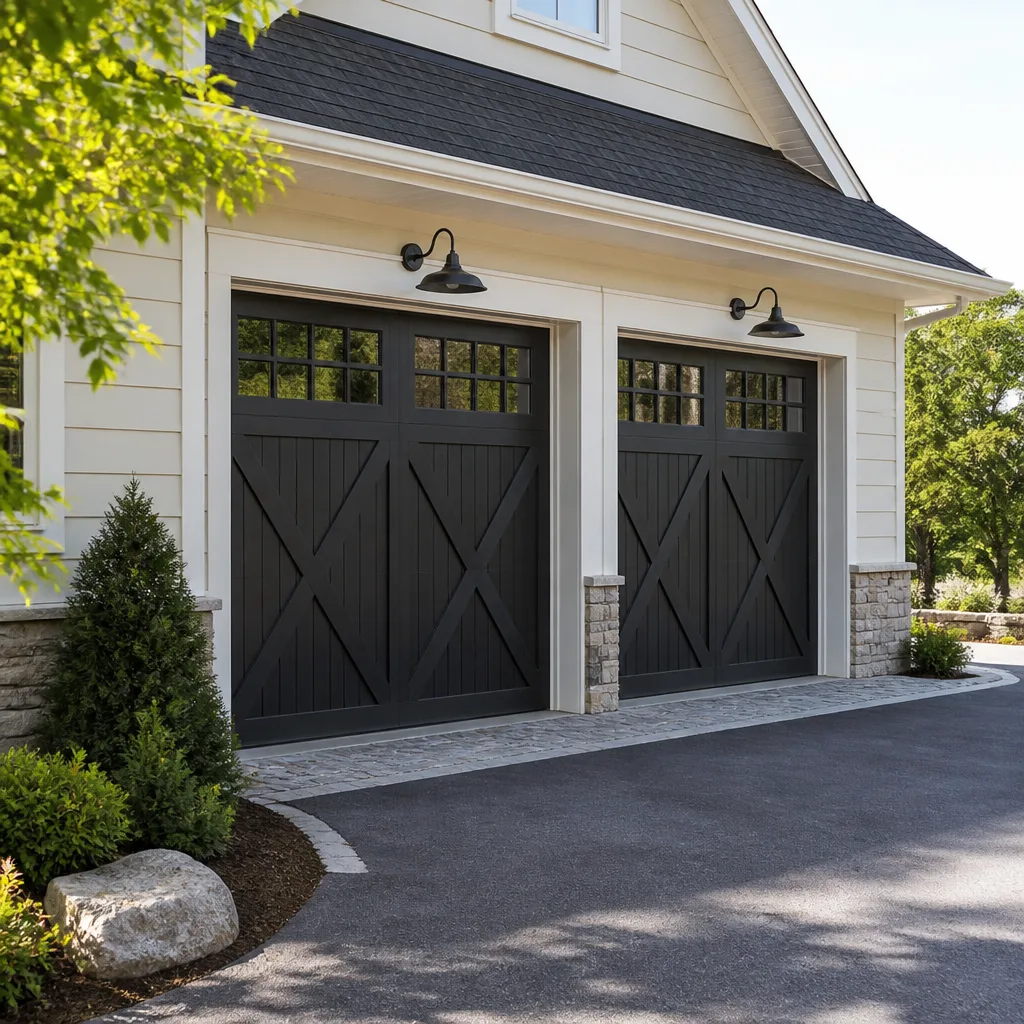 Carriage house
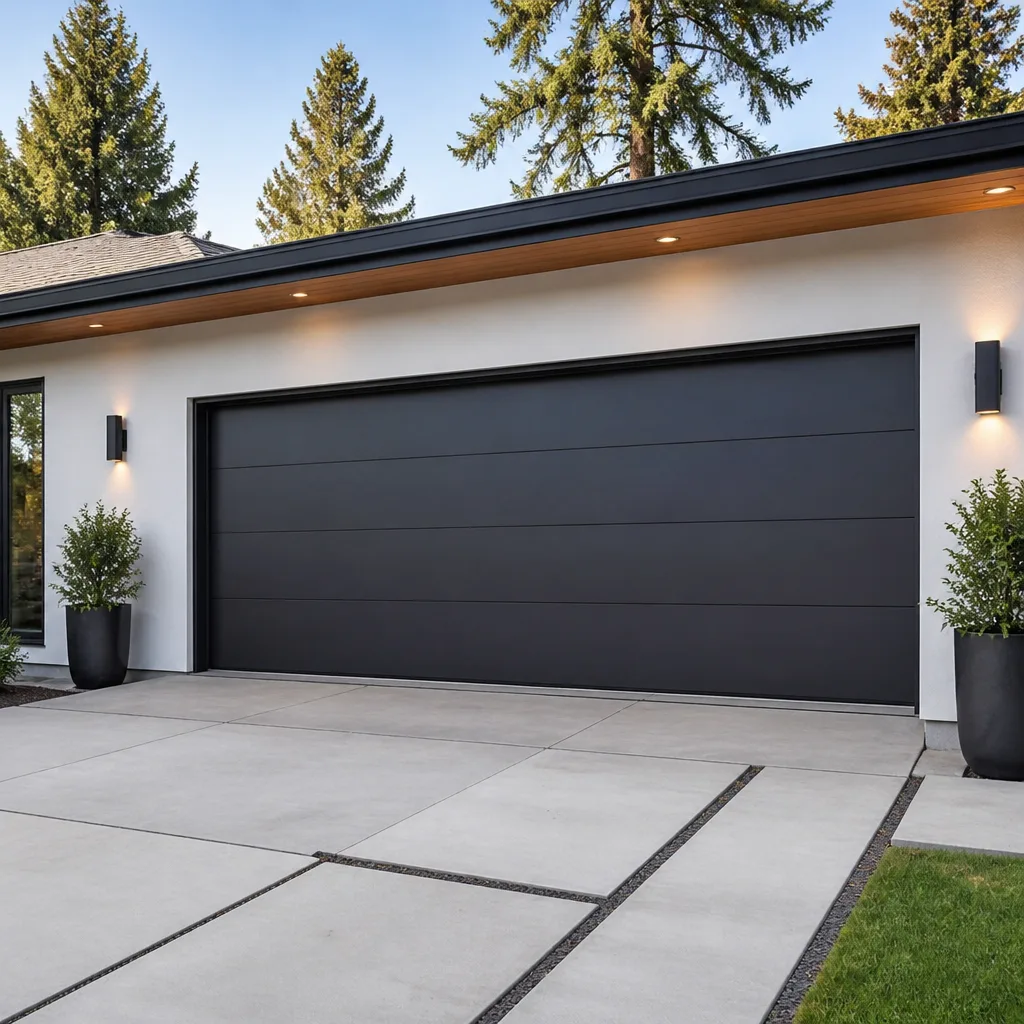 Modern flush
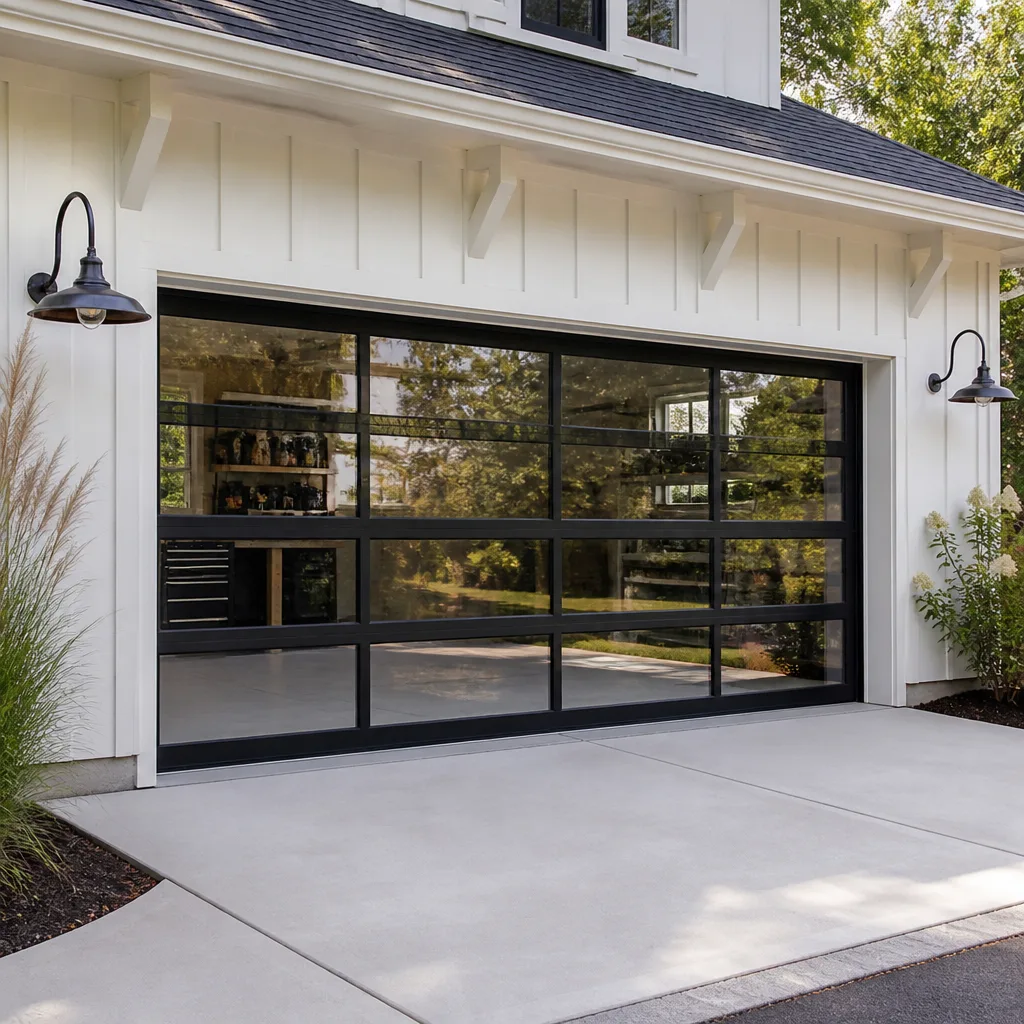 Full-view glass
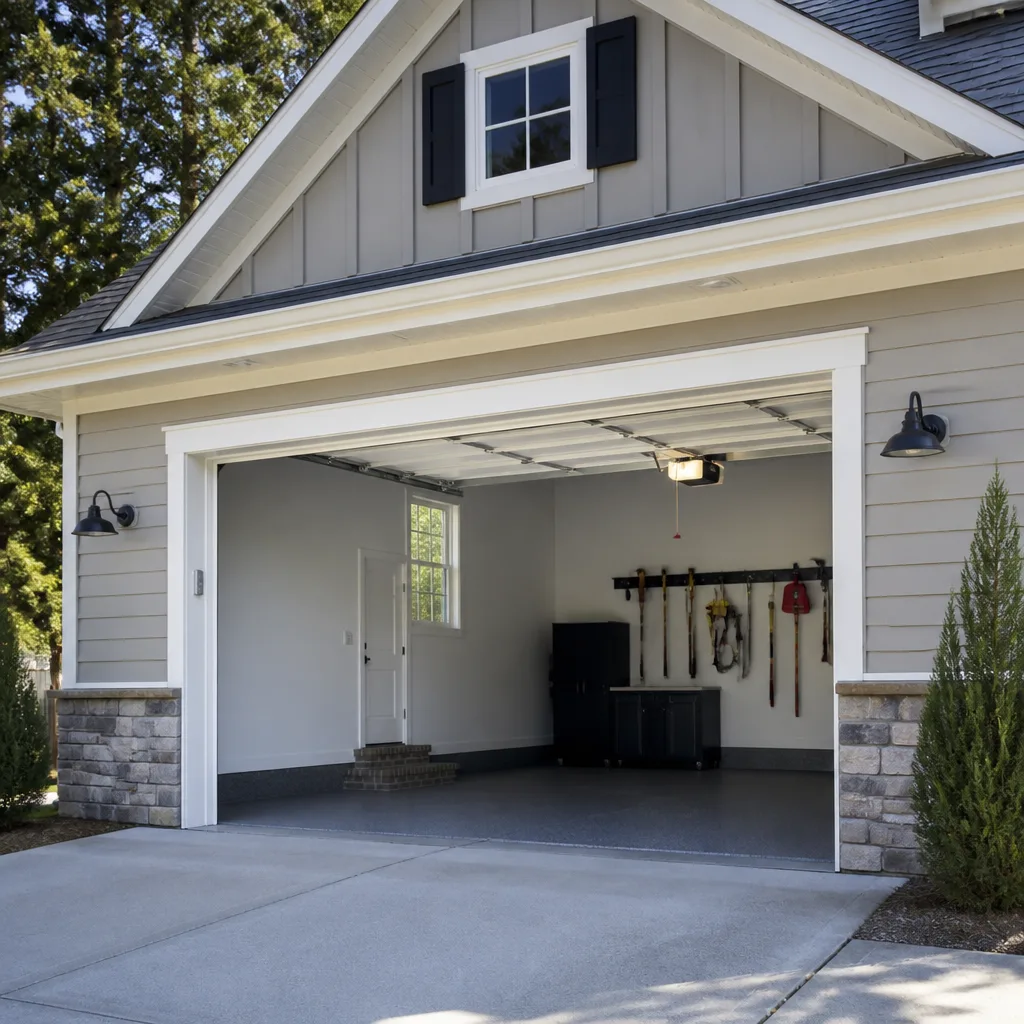 LiftMaster openers
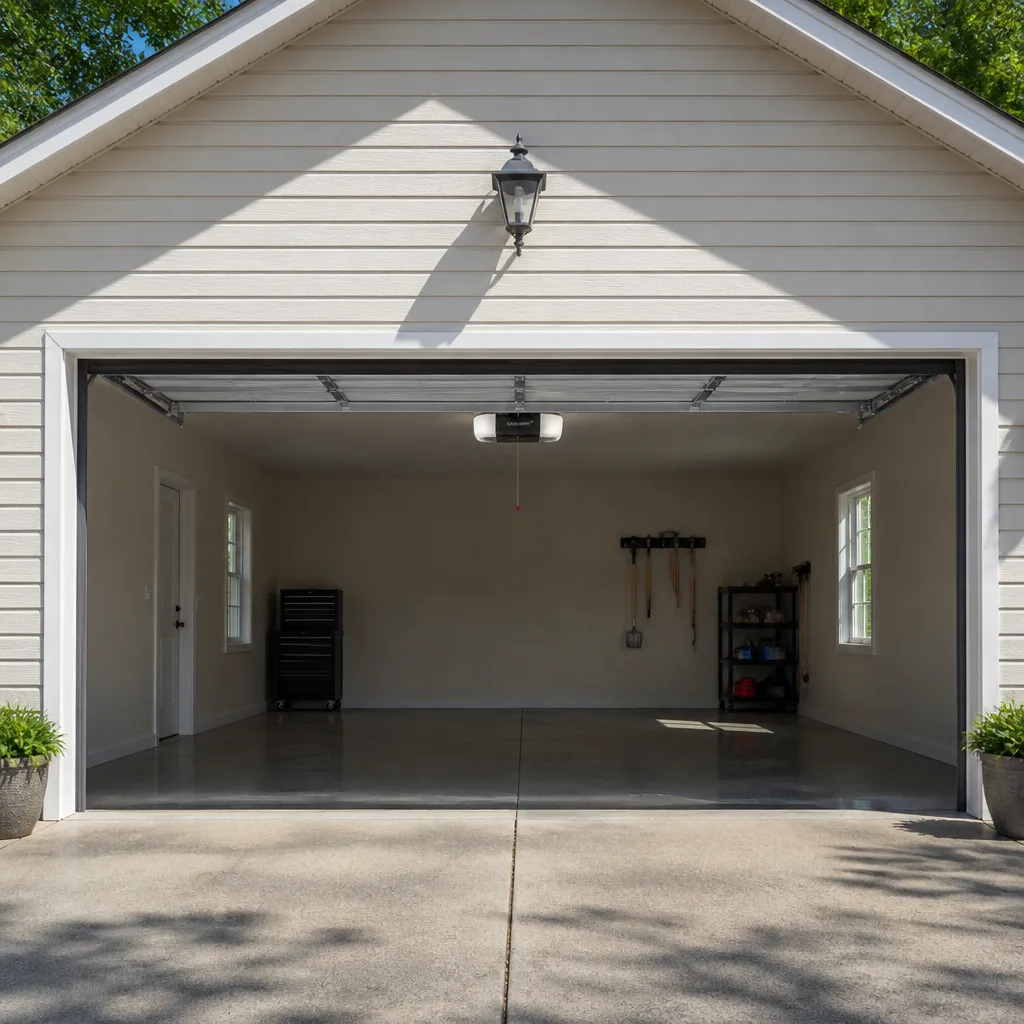 Chamberlain openers
Full 25-point door and opener safety check with every visit - springs, cables, rollers, tracks, and your LiftMaster or Chamberlain opener included
You get a price before we start. It does not change when the pro arrives.
Get your free estimateGarage Door Repair Maintenance Checklist for Arlington Homeowners
The leading cause of emergency garage door calls isn’t neglect. It’s homeowners who performed “maintenance” on components they didn’t understand and created a failure faster than if they’d done nothing at all. A door that’s a little stiff or squeaky is annoying. A door with a homeowner-loosened set screw or a wiped-down torsion spring is dangerous. Here’s the part most checklists skip: torsion spring systems and extension spring systems don’t share inspection points. Treating them the same is how people get hurt. This guide separates what you can safely do from what needs a technician, for homeowners across Arlington.
Quick Answer
A safe garage door maintenance checklist for Arlington homeowners has two halves: visual tasks you can do yourself (balance test, roller inspection, lubrication with the right product, weather seal check) and hands-off tasks that belong to a trained technician (spring tension, cable drums, bottom brackets). The self-check takes about 15 minutes and should happen twice a year. Anything involving spring tension, cables under load, or the bottom bracket is a hard stop, no matter how confident you feel.
Styles & brands we work with
- Raised-panel steel
- Carriage house
- Modern flush
- Full-view glass
- LiftMaster openers
- Chamberlain openers
Table of Contents
- Know Your Spring System Before You Touch Anything
- The Safe Self-Check Checklist: What You Can Do
- The Hard Stop List: What You Should Never Touch
- Torsion vs. Extension Springs: Two Different Inspection Lists
- Lubrication Guide: The Right Product on the Right Part
- How Arlington Humidity Changes Wear Timelines
- Reading the Signals: 30 Days vs. 12 Months from Failure
- A Seasonal Schedule That Fits Arlington
Know Your Spring System Before You Touch Anything
Every task in this guide depends on one question: are you looking at a torsion spring system or an extension spring system? Look at the door with it closed. If you see a horizontal shaft running above the door panels with a coiled spring wrapped around it, you have torsion springs. If you see springs stretched horizontally along the tracks on each side, near the top, you have extension springs. That’s the whole identification process, and it changes almost every inspection point in this checklist.
Torsion systems are common on newer doors and on most Clopay and Amarr models installed in the last couple of decades around Arlington. Extension systems still turn up on older homes, particularly in neighborhoods with a lot of 1950s to 1970s construction. Wayne Dalton also uses a proprietary torque-master tube system on many of its doors that looks nothing like either setup. If you own a Wayne Dalton door and can’t identify the spring configuration, that’s a reason to call a technician, not a reason to guess.
Why does this matter so much? Because the failure modes aren’t the same. Torsion springs fail by breaking at a coil, and the door becomes dead weight instantly. Extension springs fail by snapping and flying toward the ceiling or walls unless safety cables are installed. The visual inspection for one tells you nothing useful about the other, and the safety risks differ. A checklist that says “check your springs” without asking which type you have is writing around the most important question.
Once you’ve identified your system, note it somewhere you’ll find it again. The date you last lubricated the door and the spring type are the two pieces of information that make every future service call faster. A technician who knows what they’re walking into diagnoses the first visit instead of the second, and that’s the difference between a repair and a return trip.
The Safe Self-Check Checklist: What You Can Do
These tasks don’t require training, don’t put your hands near loaded components, and don’t risk making anything worse. Run through the list twice a year, ideally in spring and fall when most Arlington homeowners are already thinking about seasonal maintenance. Set aside 15 minutes and have a flashlight handy.
- Balance test. Disconnect the opener by pulling the release handle. Raise the door manually to about halfway and let go. A balanced door stays put. A door that drops or rises on its own has a spring tension problem, and that’s a call, not a tightening job.
- Listen to the door. Run it up and down and listen for grinding, popping, or scraping. Squeaks can come from rollers or hinges. Grinding usually points to rollers or a track issue. Popping can mean a spring, which is a stop-work signal.
- Look at the rollers. Steel rollers with worn bearings wobble in their brackets. Nylon rollers develop flat spots. Any roller that’s visibly loose, chipped, or rattling while the door moves should be flagged for replacement.
- Inspect the tracks visually. Get a flashlight and look for dents, kinks, or debris. Don’t try to bend tracks back into shape yourself; the alignment has to be exact or the door will bind.
- Check the weather seal at the bottom. Look for cracks, gaps, and daylight showing under the door. Arlington’s humid summers and cold snaps wear out seals faster than dry climates.
- Test the safety reverse. Place a roll of paper towels under the closing door. The door should reverse on contact. Then test the photo-eye sensors by blocking them with your hand while closing. If either test fails, stop using the door and get it serviced.
- Check hinges for loose screws. Tighten by hand or with a screwdriver. Don’t over-torque; damaged hinge holes are harder to fix than loose screws.
- Look at the springs without touching. Visual only. Note gaps, sagging, or rust. Don’t reach for tools.
That’s the complete self-check. It’s short on purpose. Everything that would appear on a longer list involves a loaded component, and those belong to a technician.
The Hard Stop List: What You Should Never Touch
Here’s the part of the checklist that doesn’t bend based on your confidence level, YouTube familiarity, or how many weekends you’ve spent on home projects. Some components are under enough stored energy to cause serious injury, and no amount of visual inspection makes them safe to handle. This is the hard stop list:
- Spring tension. Torsion springs hold enough stored energy to move a door that weighs over a hundred pounds. Adjusting tension requires winding bars and a specific technique. A slip can break a hand or worse.
- Set screws on the torsion shaft. Loosening these releases the spring’s stored energy with no warning. Completely off-limits.
- Cable drums. Cables wrapped around drums are under high tension. Removing a drum with cables attached can send the cable whipping at high speed.
- Bottom brackets. The bottom bracket anchors the lift cable, and it’s the single most dangerous component on many doors. Loosening or removing it releases the cable with dangerous force.
- Extension spring safety cables. These cables are what keep a broken extension spring from flying into the garage. Don’t remove, adjust, or bypass them. If they’re missing, that’s a technician job.
- Lift cables themselves. Even when the door is up and appears unloaded, cables can carry residual tension. Never handle them.
The rule is simple: if a component is holding or moving a wire rope or a spring under tension, it’s a technician’s job. Garage doors are the only thing we work on, and even our technicians who have up to 11 years of experience don’t take shortcuts on loaded components. The 15 minutes you save doing it yourself isn’t worth the risk of a serious injury or a door that fails without warning.
If you suspect a spring, cable, or bracket issue, stop using the door. Arrange garage door repair before the door gets stuck open or closed.
Torsion vs. Extension Springs: Two Different Inspection Lists
This is the section no generic checklist will give you, and it’s the one that matters most. The inspection points for each system are different, and the safety indicators mean different things.
Torsion Spring System Inspection Points
- Spring coil condition. Torsion springs should be uniform along their length. Look for a gap between coils, which means the spring has broken. A single gap the width of a pencil means the door is no longer supported and should not be operated.
- Rust on the coils. Torsion springs in humid climates develop surface rust, which weakens the wire over time. Heavy pitting is a signal to schedule a replacement.
- Shaft and center bearing. The shaft should be straight. A center bearing that squeals when the door moves is a technician inspection point.
- Cable winding. Visually, the cables should sit evenly in the drum grooves. Uneven winding or a cable frayed near the drum is a stop-work signal.
- Winding bars in the wrong hands. If you see winding bars anywhere near the shaft and you didn’t put them there, stop. Someone has been adjusting tension.
Extension Spring System Inspection Points
- Safety cables. Extension springs must have a safety cable running through the center of each spring. No cable means a broken spring becomes a projectile. This is one of the most important visual checks on this system.
- Spring stretch. Extension springs stretch along the track as the door rises. Look for springs stretched noticeably unevenly between the two sides.
- Spring ends and hooks. Look for signs of separation at the hook or loop ends where the spring attaches to the track bracket. A visible gap or bent hook is a stop-work signal.
- Pulley condition. Extension systems use pulleys that wear over time. A pulley that’s showing cracks or wobbling needs replacement.
- Anchor bracket tightness. Look for visible looseness at the wall or track anchor points. Don’t touch them; just note it for a technician.
The reason these lists are separate is that a task safe on one system can be dangerous on another. For example, the torsion spring visual inspection includes looking at coil gaps that require no tools. The extension spring inspection includes looking for safety cables that need no tools. But on both systems, the actual repair is a technician job. If you’re unsure which system you have, or if your door is a Raynor or Wayne Dalton model with a distinctive setup, get a technician to identify it before you do anything else.
Lubrication Guide: The Right Product on the Right Part
Lubrication is where most DIY maintenance goes wrong. Not because the intent is bad, but because the products matter more than the frequency. WD-40 is the classic example: it’s a solvent and light oil that many homeowners reach for because it’s in the garage. On garage door components, WD-40 removes the existing grease from bearings and hinges, leaves a thin film that attracts dust, and dries out moving parts faster than no product at all. The components end up wearing faster after the “maintenance” than before.
Use the right product for each part:
- Rollers: White lithium grease or a silicone-based lubricant. Never WD-40 or household oil.
- Hinges: White lithium grease. One drop per hinge, not a spray coat.
- Springs: Garage door spring lubricant only, applied by a technician. Homeowners should not lubricate torsion springs, because applying product near a loaded spring invites hands into the wrong area.
- Tracks: Nothing. Tracks should be clean and dry. Lubricating tracks attracts debris that causes binding.
- Weather seals: Silicone spray, applied annually, keeps rubber soft enough to seal against the floor.
- Opener chain or belt: Manufacturer-recommended lubricant only. LiftMaster and Chamberlain belt drives are typically maintenance-free, while chain drives need a light coat two or three times a year.
The frequency is twice a year for most parts, and once a year for weather seals. More frequent lubrication isn’t better; it just attracts dust. If your door is grinding after lubrication, the rollers are worn and no amount of product will fix that.
How Arlington Humidity Changes Wear Timelines
Arlington’s summer humidity is why a garage door here wears on a different schedule than the same door in Phoenix or Denver. Humidity accelerates two things: steel corrosion and wood components drying out and cracking. Metal components that would last years in a dry climate show visible wear much sooner here, and the wear pattern is seasonal.
The practical result is that Arlington homeowners should inspect rollers, hinges, and spring condition more often than the “twice a year” timing you see in generic guides. Rollers develop flat spots and seize faster in humid months. Hinge screws loosen as wood framing in the door shifts with the humidity swings. Steel tracks can develop surface rust that invites binding. A door that was fine in May can develop a roller squeal by August if it hasn’t been looked at.
Cold snaps matter too. Arlington winters cycle above and below freezing, which is harder on weather seals than a consistently cold climate. The rubber strips at the bottom of the door crack in the cold and don’t reseal once cracked, which lets cold air, water, and small pests into the garage. The visible result is a door that seems to work fine but doesn’t seal, and the invisible result is water intrusion at the threshold during freeze-thaw cycles.
What this means for your schedule: prioritize a spring check and a roller inspection in late spring (May), a weather seal check in early fall (October), and a general look before the first cold snap. That’s three touchpoints a year, which is one more than most guides recommend. It’s the schedule that fits Arlington weather rather than a climate that doesn’t exist here.
Reading the Signals: 30 Days vs. 12 Months from Failure
One of the most useful skills a homeowner can develop is estimating how close a component is to failing. The visual indicators break into two groups: things that mean “schedule this within the month” and things that mean “note this for next year’s budget.” Getting this right is the difference between an inconvenient repair and a door stuck open in the rain.
About 30 Days from Failure: Schedule a Repair Now
- A visible gap in a torsion spring coil. The door is no longer supported on that spring and is being held by the other one or by cables alone.
- Frayed or flattened lift cables. Cables fail by breaking suddenly; a visibly worn cable is on borrowed time.
- Rollers with visible flat spots or chips. These cause the door to bind and can bend the track if left.
- A door that no longer balances when disconnected from the opener. This is almost always spring tension, and it’s a short fuse.
- Visible looseness at the bottom bracket or cable drum. Immediate stop-use signal.
- A weather seal with visible cracks larger than a fingernail. Water intrusion is happening now, not next year.
About 12 Months from Failure: Plan Ahead
- Surface rust on spring coils, but no pitting yet. Plan a replacement within the year, not the week.
- Hinges that squeak but respond to lubrication. A sign the door is due for a full tune-up.
- Weather seal that’s firm but not cracked. Replace it at the next spring maintenance window.
- Opener chain showing light wear. Have it checked at the next service visit along with the opener drive system.
- Rollers that are older but round. Not urgent, but track them for the next full tune-up.
If you can’t tell which category a signal falls in, the safe assumption is the shorter one. Diagnosing early doesn’t cost more than diagnosing late, and a small repair now avoids a bigger one later. Every service visit comes with a free estimate, so there’s no reason to wait until the door stops working.
A Seasonal Schedule That Fits Arlington
Here’s what the maintenance calendar looks like when you account for Arlington’s humidity swings, cold snaps, and what most homeowners actually have time for. This schedule is designed around real seasonal patterns, not a generic twice-a-year checkbox.
- Spring (April to May): Full self-check from this guide. Balance test, roller inspection, hinge tightening, weather seal check. Lubricate rollers and hinges with white lithium grease. Check opener operation and test the safety reverse.
- Early summer (June): A quick listen test. Run the door once a week and note any new sound. Humid months are when new squeaks appear. If something is new, call for an inspection before July.
- Late summer (August): Visual check of spring condition and tracks. Look for rust pitting and flat spots on rollers. This is the time to schedule any repair that showed up in June.
- Fall (October): Weather seal check before cold weather. Replace if cracked. Full self-check on hinges, cables (visual only), and spring condition. Test safety reverse again.
- Late fall (November): Last look at the opener and safety systems before the season. Confirm photo-eye sensors work. If your operator is a LiftMaster, Chamberlain, Genie, or Craftsman model and you haven’t had the drive system checked in a while, schedule a tune-up with garage door opener repair to rule out worn gear or chain issues.
- Winter: Minimal maintenance. Keep tracks clean and dry. Don’t lubricate tracks just because it’s cold out; that’s a year-round rule.
That’s the full calendar for a typical Arlington home. If your door is over 10 years old or you’ve never had it serviced, front-load the schedule: run the full self-check first, then arrange a technician inspection to get a baseline. Kingsley Garage Door Repair works on brands including Amarr, Wayne Dalton, Craftsman, and Raynor, so identifying your door’s needs is usually straightforward on the first visit.
Common Mistakes to Avoid
- Using WD-40 on rollers and hinges. It dries out the components and attracts dust. Every roller you “fix” ends up wearing faster. Use white lithium grease instead.
- Adjusting torsion spring tension yourself. Even if the door seems light, the spring is holding stored energy that can break a hand. No YouTube tutorial makes this safe.
- Treating extension and torsion inspections as interchangeable. The visual check for one system tells you nothing useful about the other. Know which one you have before your first inspection.
- Lubricating the tracks. Track lubrication attracts debris that causes binding, and the tracks don’t need it. Clean them and leave them dry.
- Assuming a safe-looking door is actually safe. Springs fail without warning, especially in humid Arlington months. The only useful warning sign is a technician’s inspection, not “it looks fine.”
- Running the door after a balance failure. If the door drops or rises on its own after you disconnect the opener, don’t keep operating it. That’s a spring problem that gets worse every cycle.
- Tightening the bottom bracket or set screws “just to be sure.” These are hard-stop components. Loosening them releases tension you can’t control.
See the difference
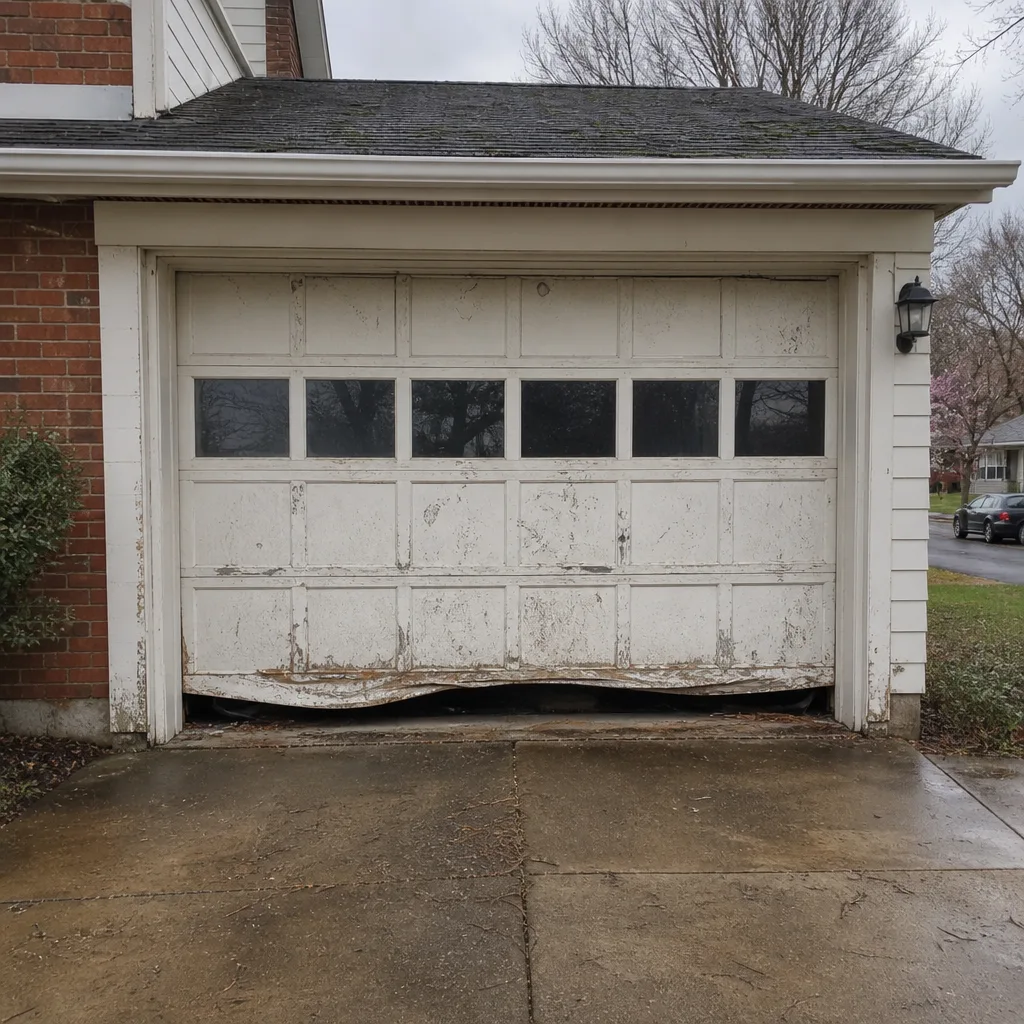 Before
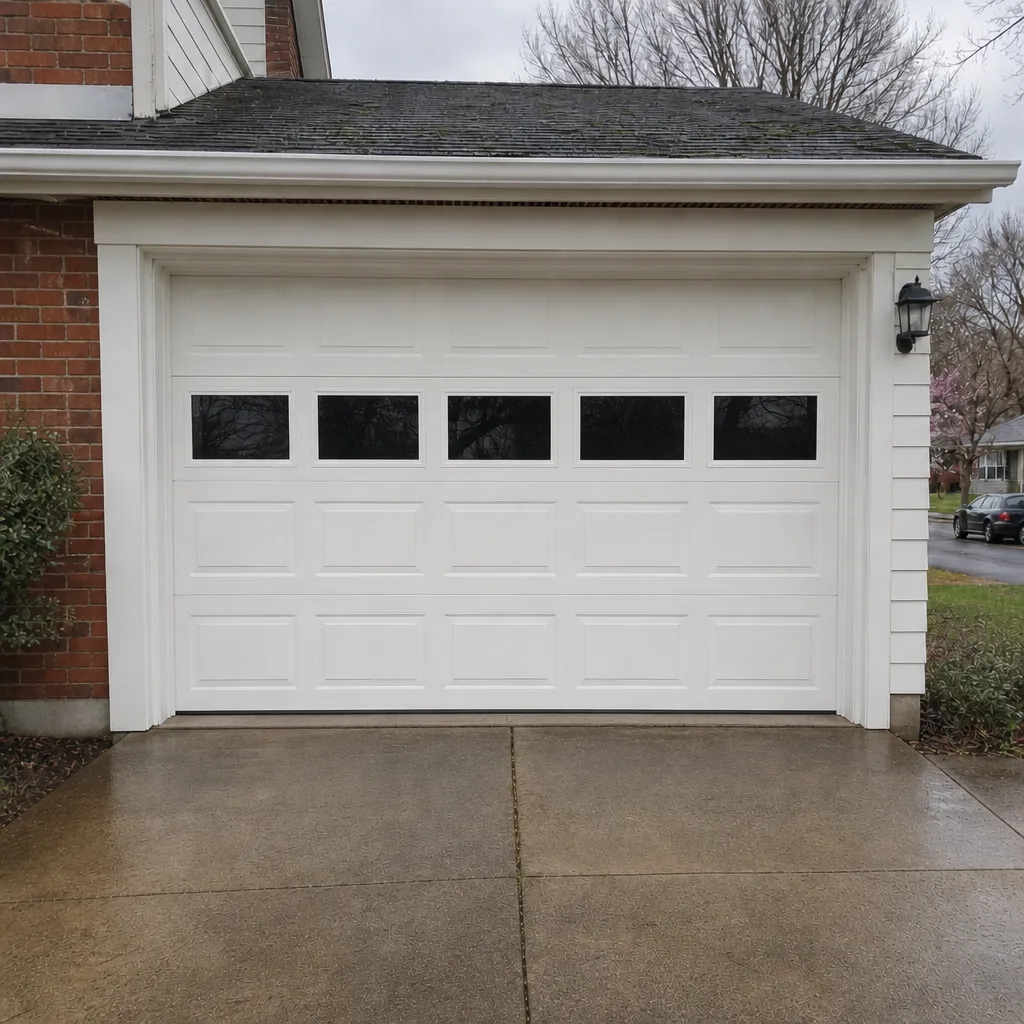 After
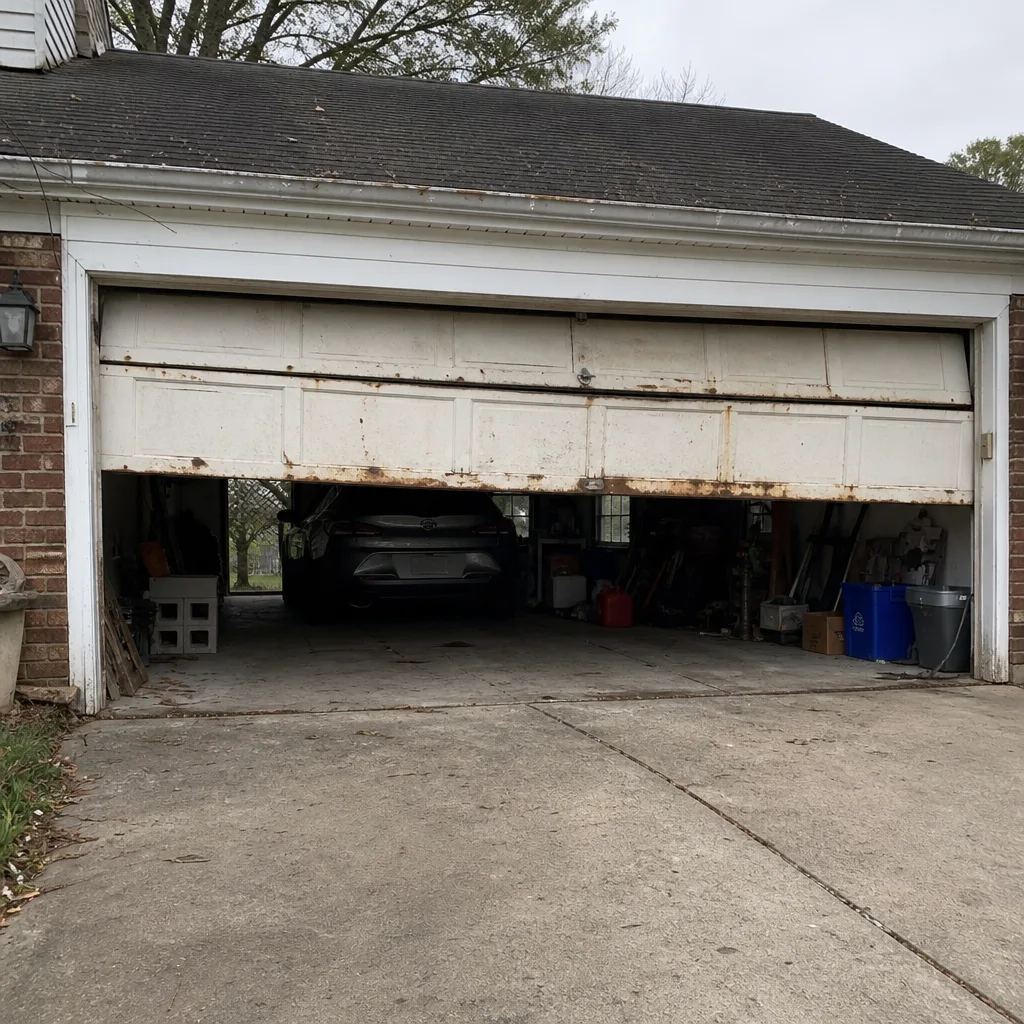 Before
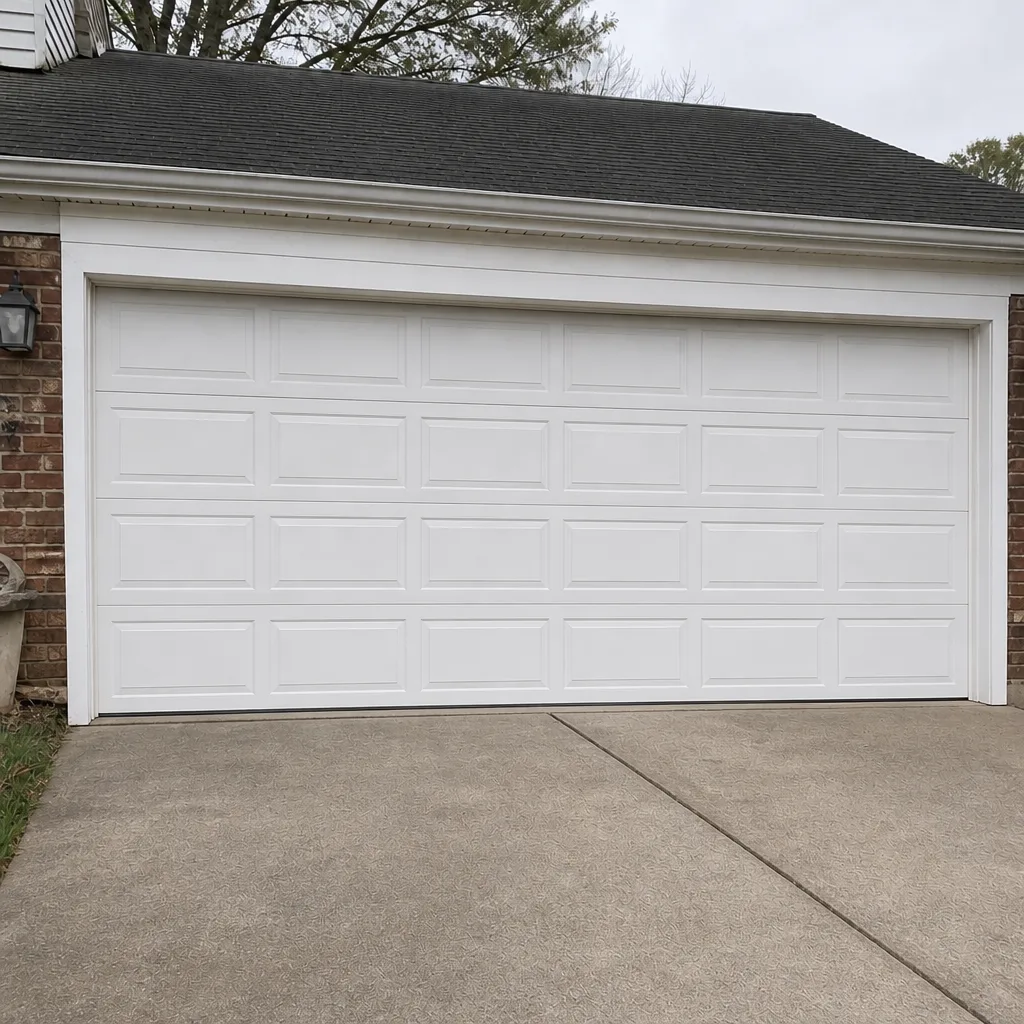 After
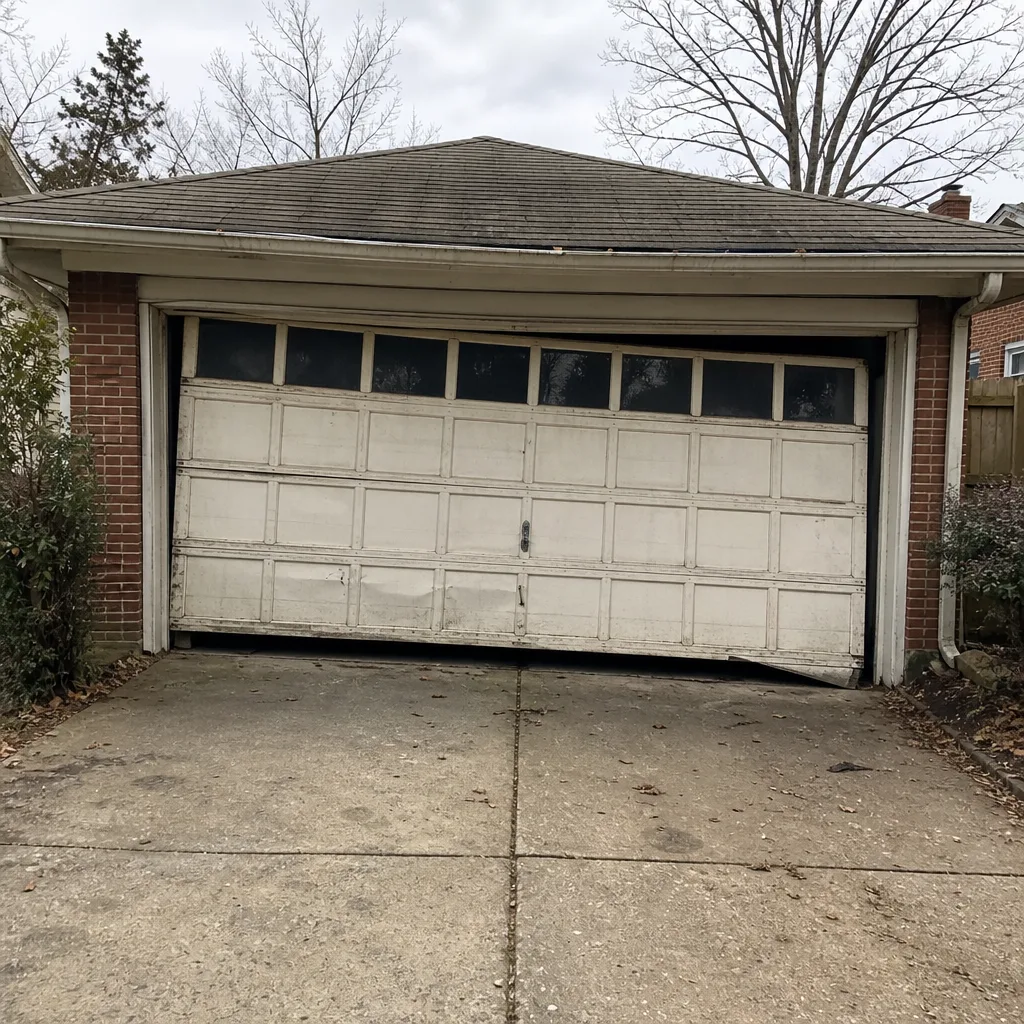 Before
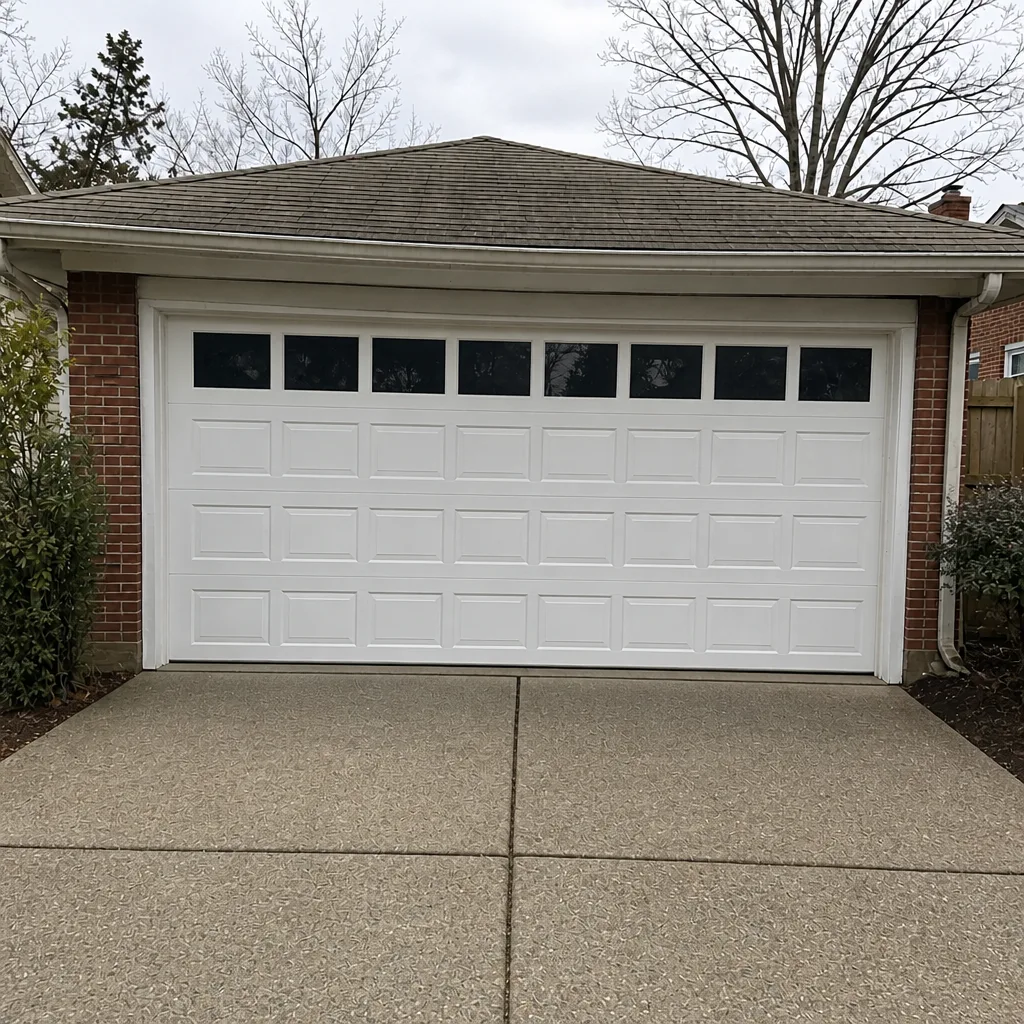 After
When to Call a Professional
Some things in this guide you can handle. Some things you shouldn’t touch, period. The line between those two groups is clearer than most homeowners expect: if it’s a spring, a cable, a drum, a bottom bracket, or any part holding stored energy, it’s a technician’s job. If a balance test fails, if you hear a pop or snap while the door moves, if a cable is frayed, or if a spring shows a visible coil gap, stop using the door and get it looked at. A door that stops balancing can fail to close, fall unexpectedly, or leave the garage unsecured. Kingsley Garage Door Repair offers free estimates in Arlington, and we work on every major residential brand: LiftMaster, Chamberlain, Genie, Clopay, Amarr, Wayne Dalton, Craftsman, and Raynor. Call (844) 484-2584 to schedule a technician.
Frequently Asked Questions
Twice a year for the self-check and once a year for a full technician inspection is the right baseline for most Arlington homes. Because Arlington’s humidity accelerates roller and hinge wear, we recommend an additional quick check in midsummer between the spring and fall appointments. Older doors, or doors that have never been serviced, should get a technician baseline first. Call (844) 484-2584 for a free estimate on an inspection.
Yes, on the parts you can safely reach: rollers, hinges, weather seals, and the opener chain or belt. You should not lubricate torsion springs, cables, drums, or the bottom bracket. Use white lithium grease on hinges and rollers, silicone spray on weather seals, and never WD-40 on any moving component. If you’re not sure which part needs what, a technician can walk through it. Call (844) 484-2584 to schedule.
Look at the door when it’s closed. A horizontal shaft above the door with coiled springs wrapped around it means torsion. Springs stretched along the tracks on each side mean extension. If you have a Wayne Dalton door with a torque-master tube, it’s a third configuration that’s inspected differently. If you’re unsure, don’t guess. A technician can identify the system in minutes. Call (844) 484-2584; estimates are free.
A visible gap between coils on a torsion spring, surface rust turning into pitting, or a door that no longer balances when disconnected from the opener are the three strongest signals. On extension springs, missing safety cables or stretched unevenly between the two sides are warnings. Any of these means call a technician rather than running the door. Call (844) 484-2584 to schedule a same-day inspection.
Yes. Metal components rust faster in humid summers than in dry climates, and wood framing in the door shifts with the humidity swings, loosening hinges and track anchor points. Cold snaps here cycle above and below freezing, which cracks weather seals faster than a consistently cold climate. That’s why we recommend three touchpoints a year in Arlington rather than two. For maintenance scheduling, call (844) 484-2584.
No, not without your agreement. We quote the price in writing before any work starts, and you approve it beforehand. If the technician finds something the initial diagnosis didn’t cover, they’ll explain it and quote it separately before touching it. You’re not obligated to accept additional work. A free estimate is the starting point, and the written quote is the price. Call (844) 484-2584 for a free estimate.
The Bottom Line
Maintenance that helps your door is short and boring: a balance test, a listen test, a visual check of rollers and spring condition, and the right lubricant on the right part, twice a year plus a midsummer look here in Arlington. Maintenance that hurts your door involves WD-40, spring tension, and the assumption that a visual check makes a loaded component safe. The hard stop list doesn’t budge based on confidence. Springs, cables, drums, and bottom brackets belong to a technician, and knowing that line keeps your door working and your household safe.
If anything in this guide turned up a signal that something is wearing out, don’t wait for it to fail. Call Kingsley Garage Door Repair at (844) 484-2584 for a free estimate. We answer 24/7. Fast dispatch from 7am to 7pm, Sunday through Friday. Garage doors are the only thing we work on, whether your door is a Clopay, Amarr, Wayne Dalton, or Raynor, or your opener is a LiftMaster, Chamberlain, Genie, or Craftsman. Your opener. Your door. Our specialty.
Written by the team at Kingsley Garage Door Repair.